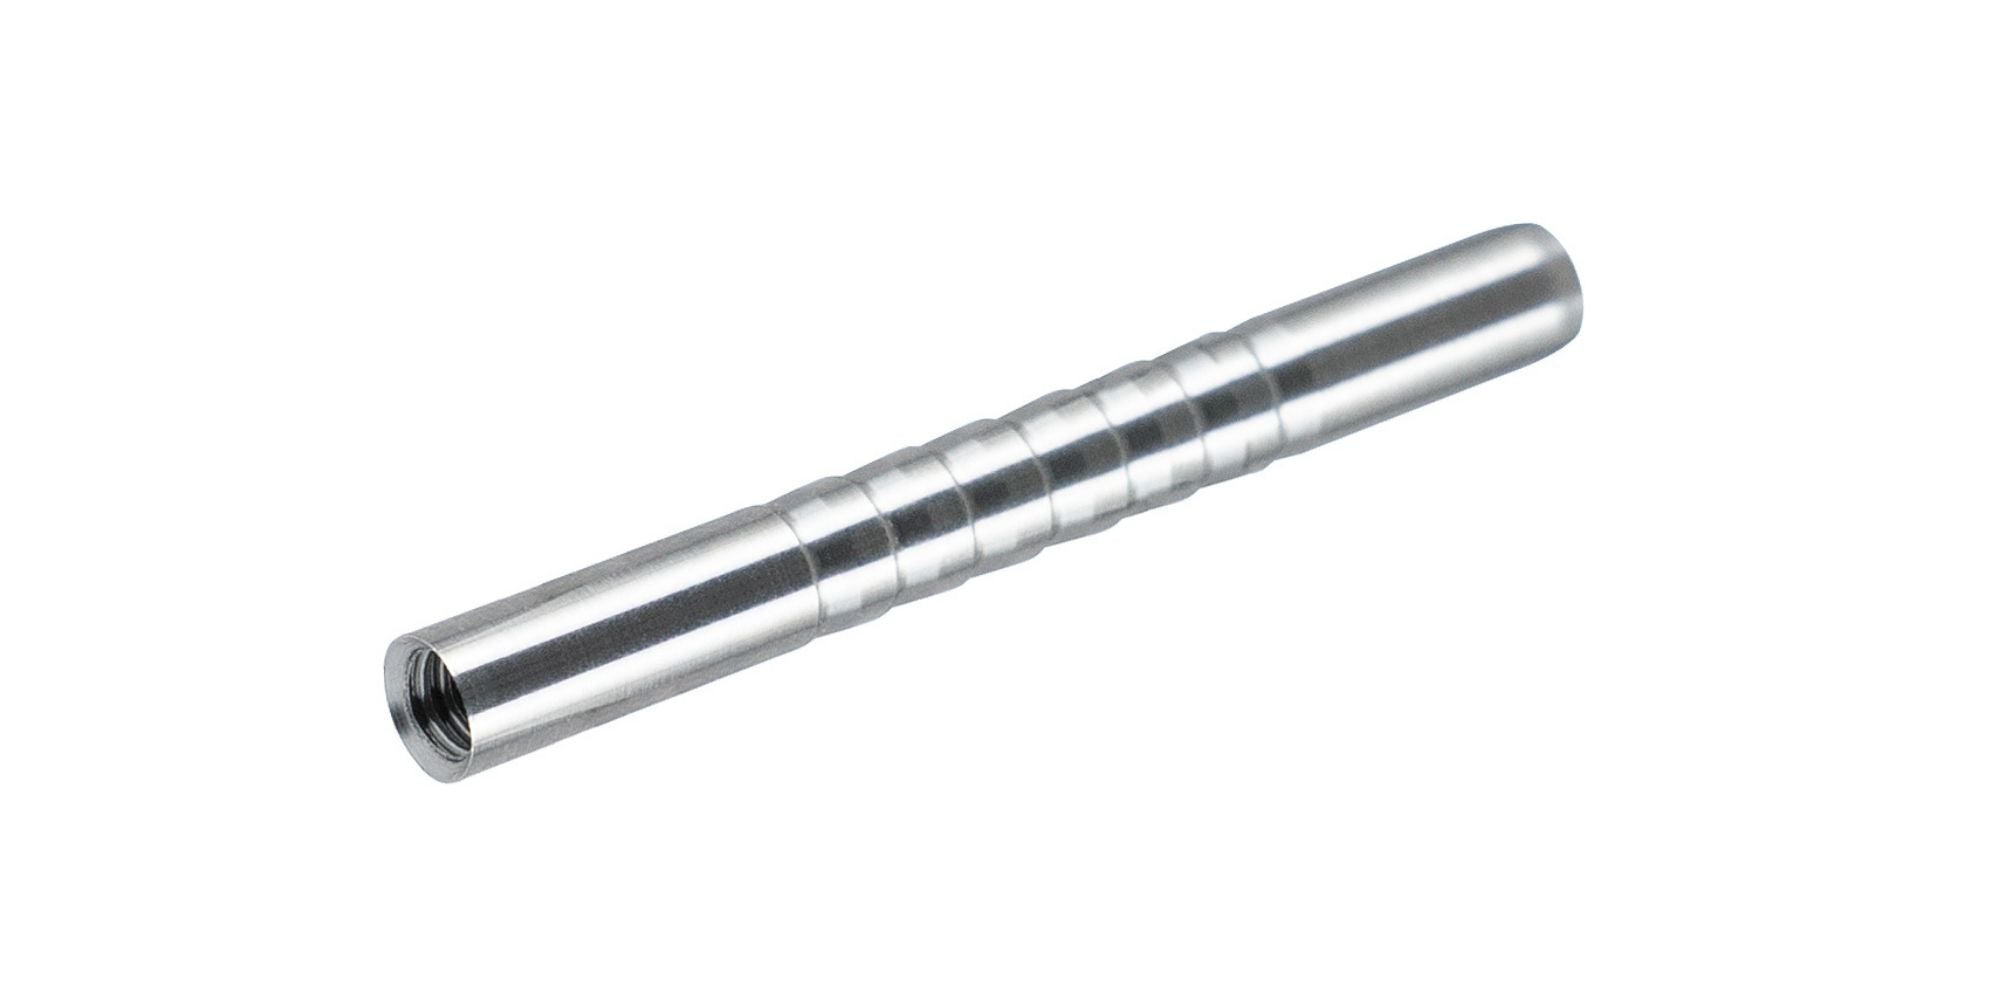
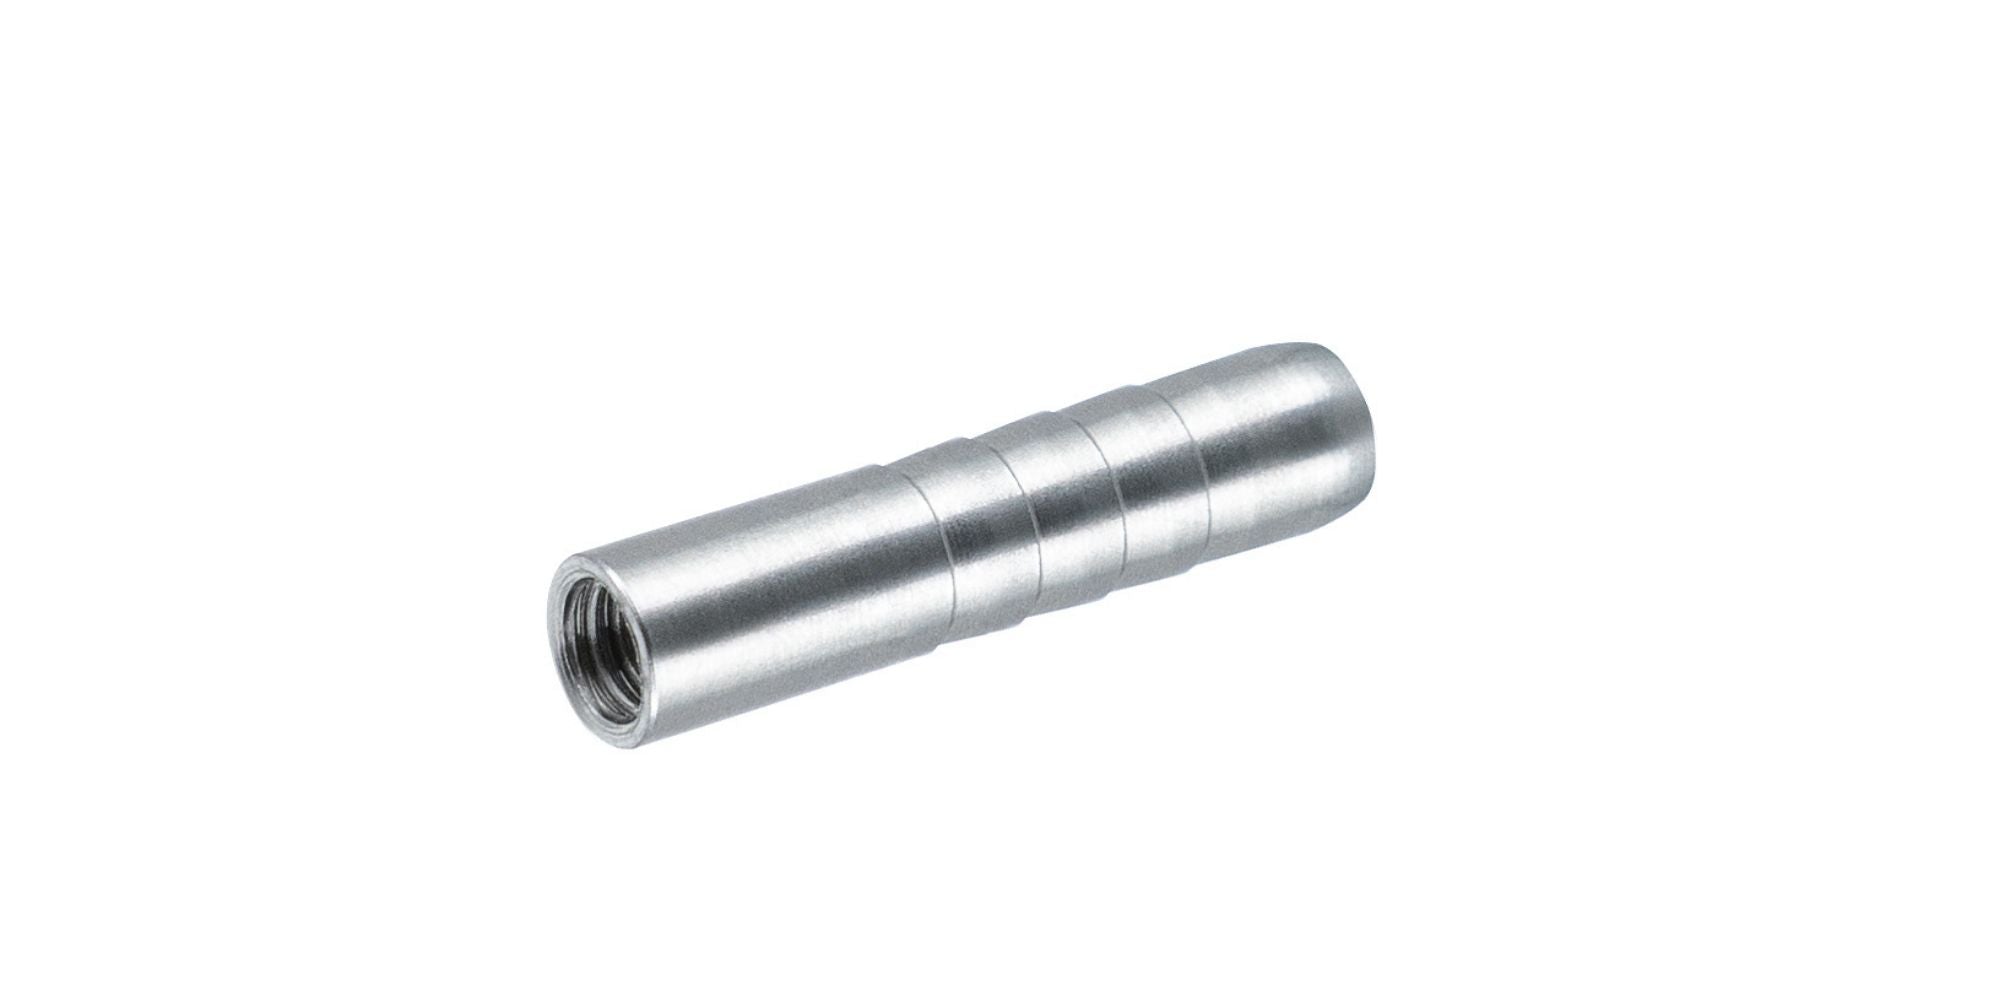
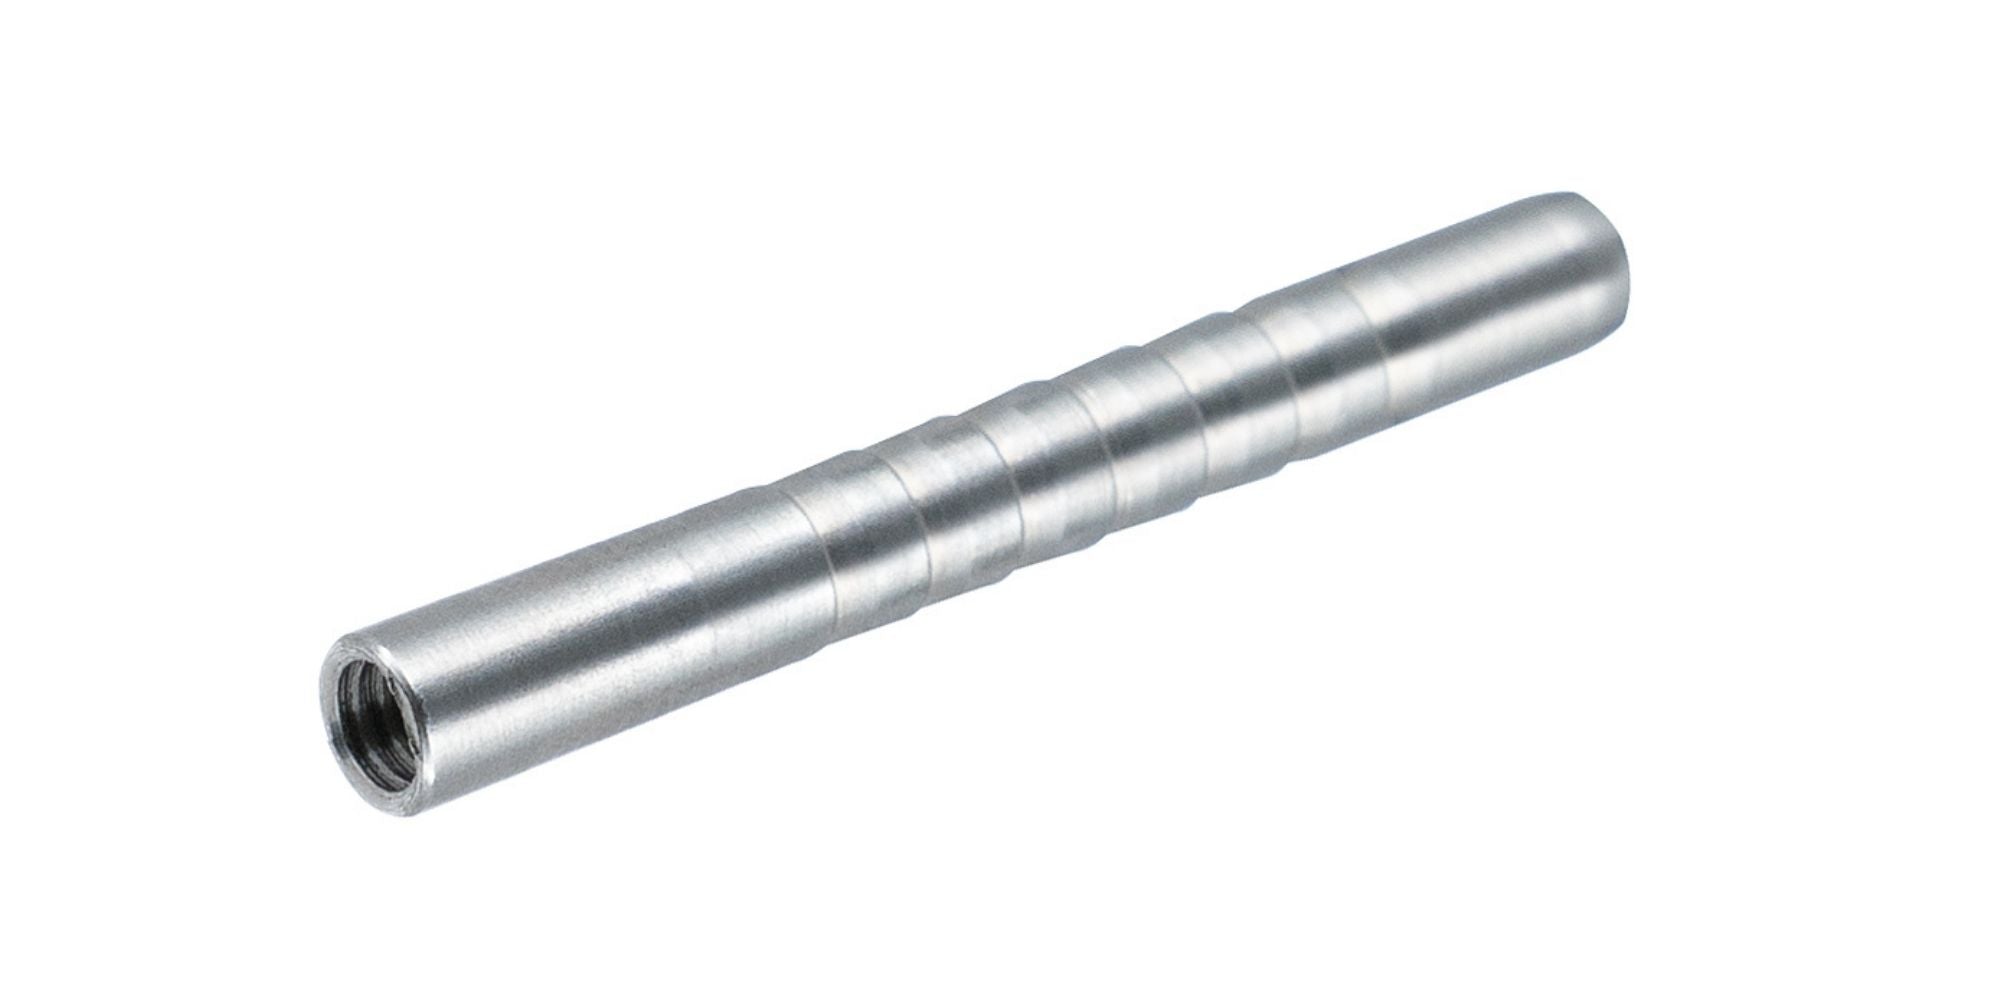
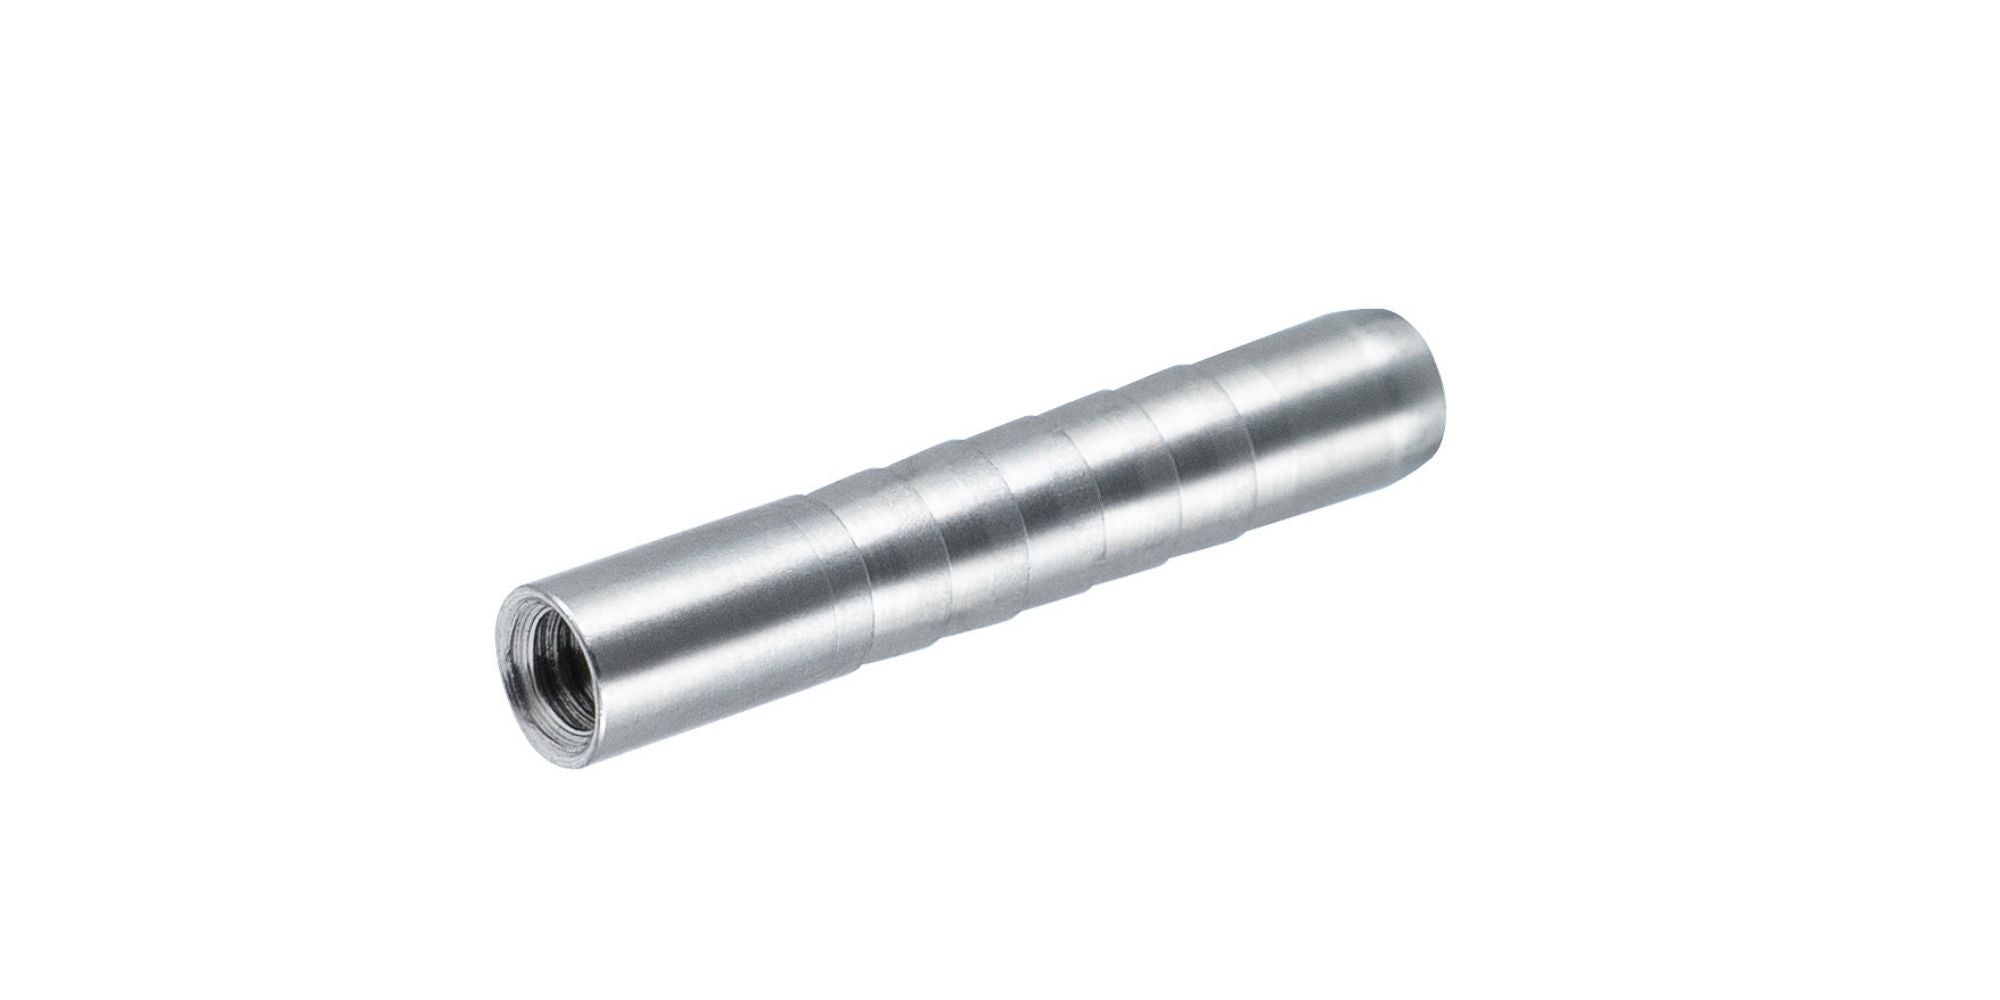
HIT Insert and Impact Collar Epoxy
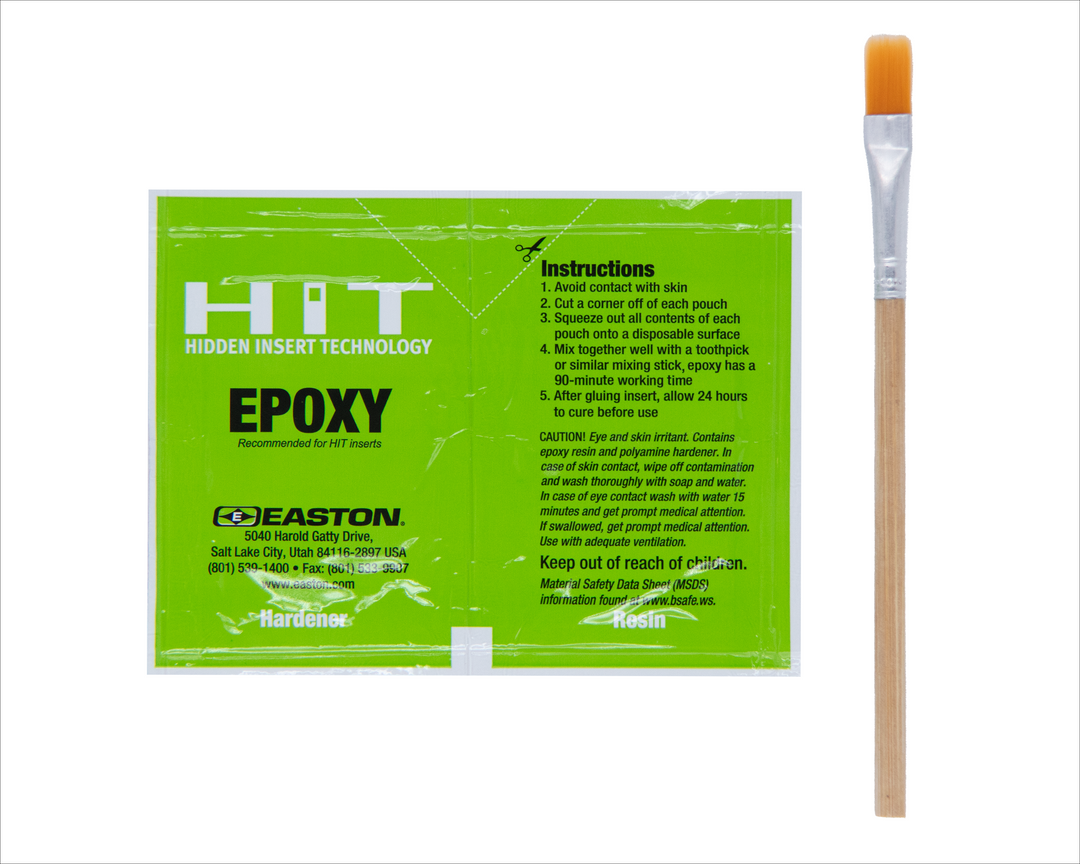
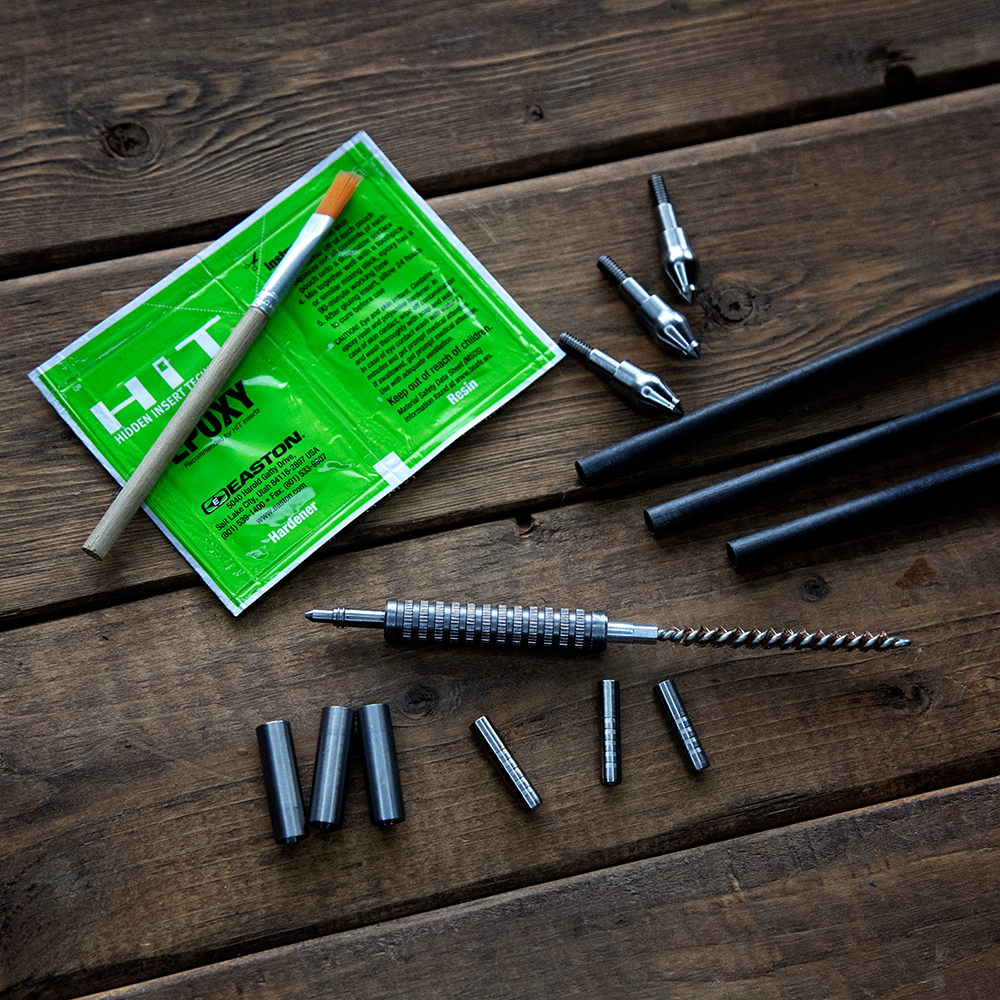
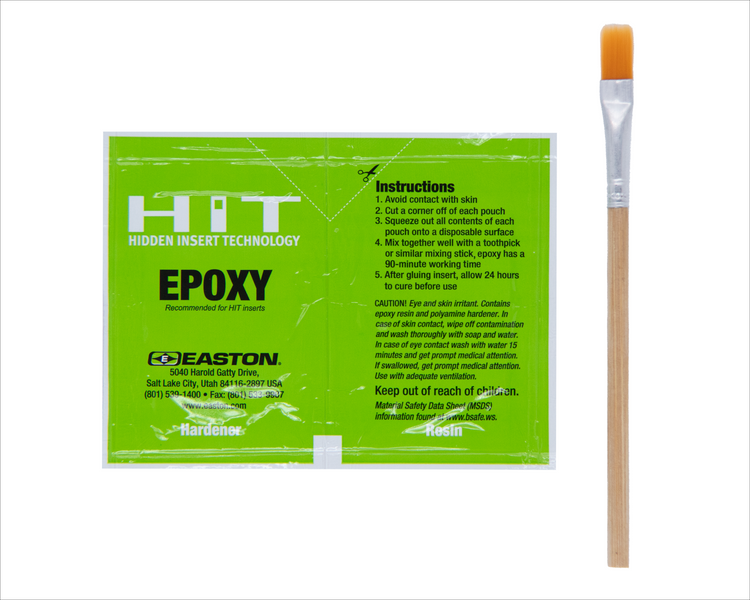
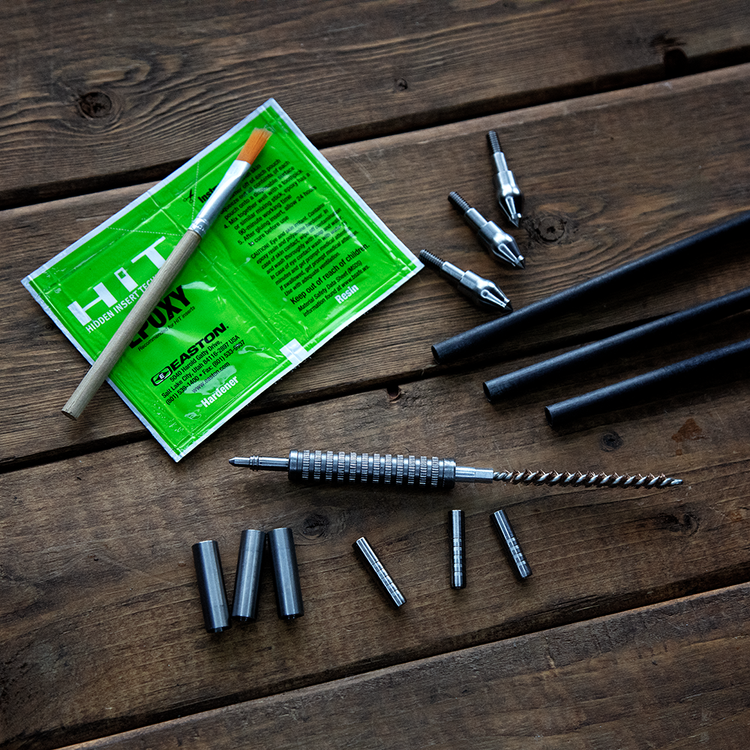
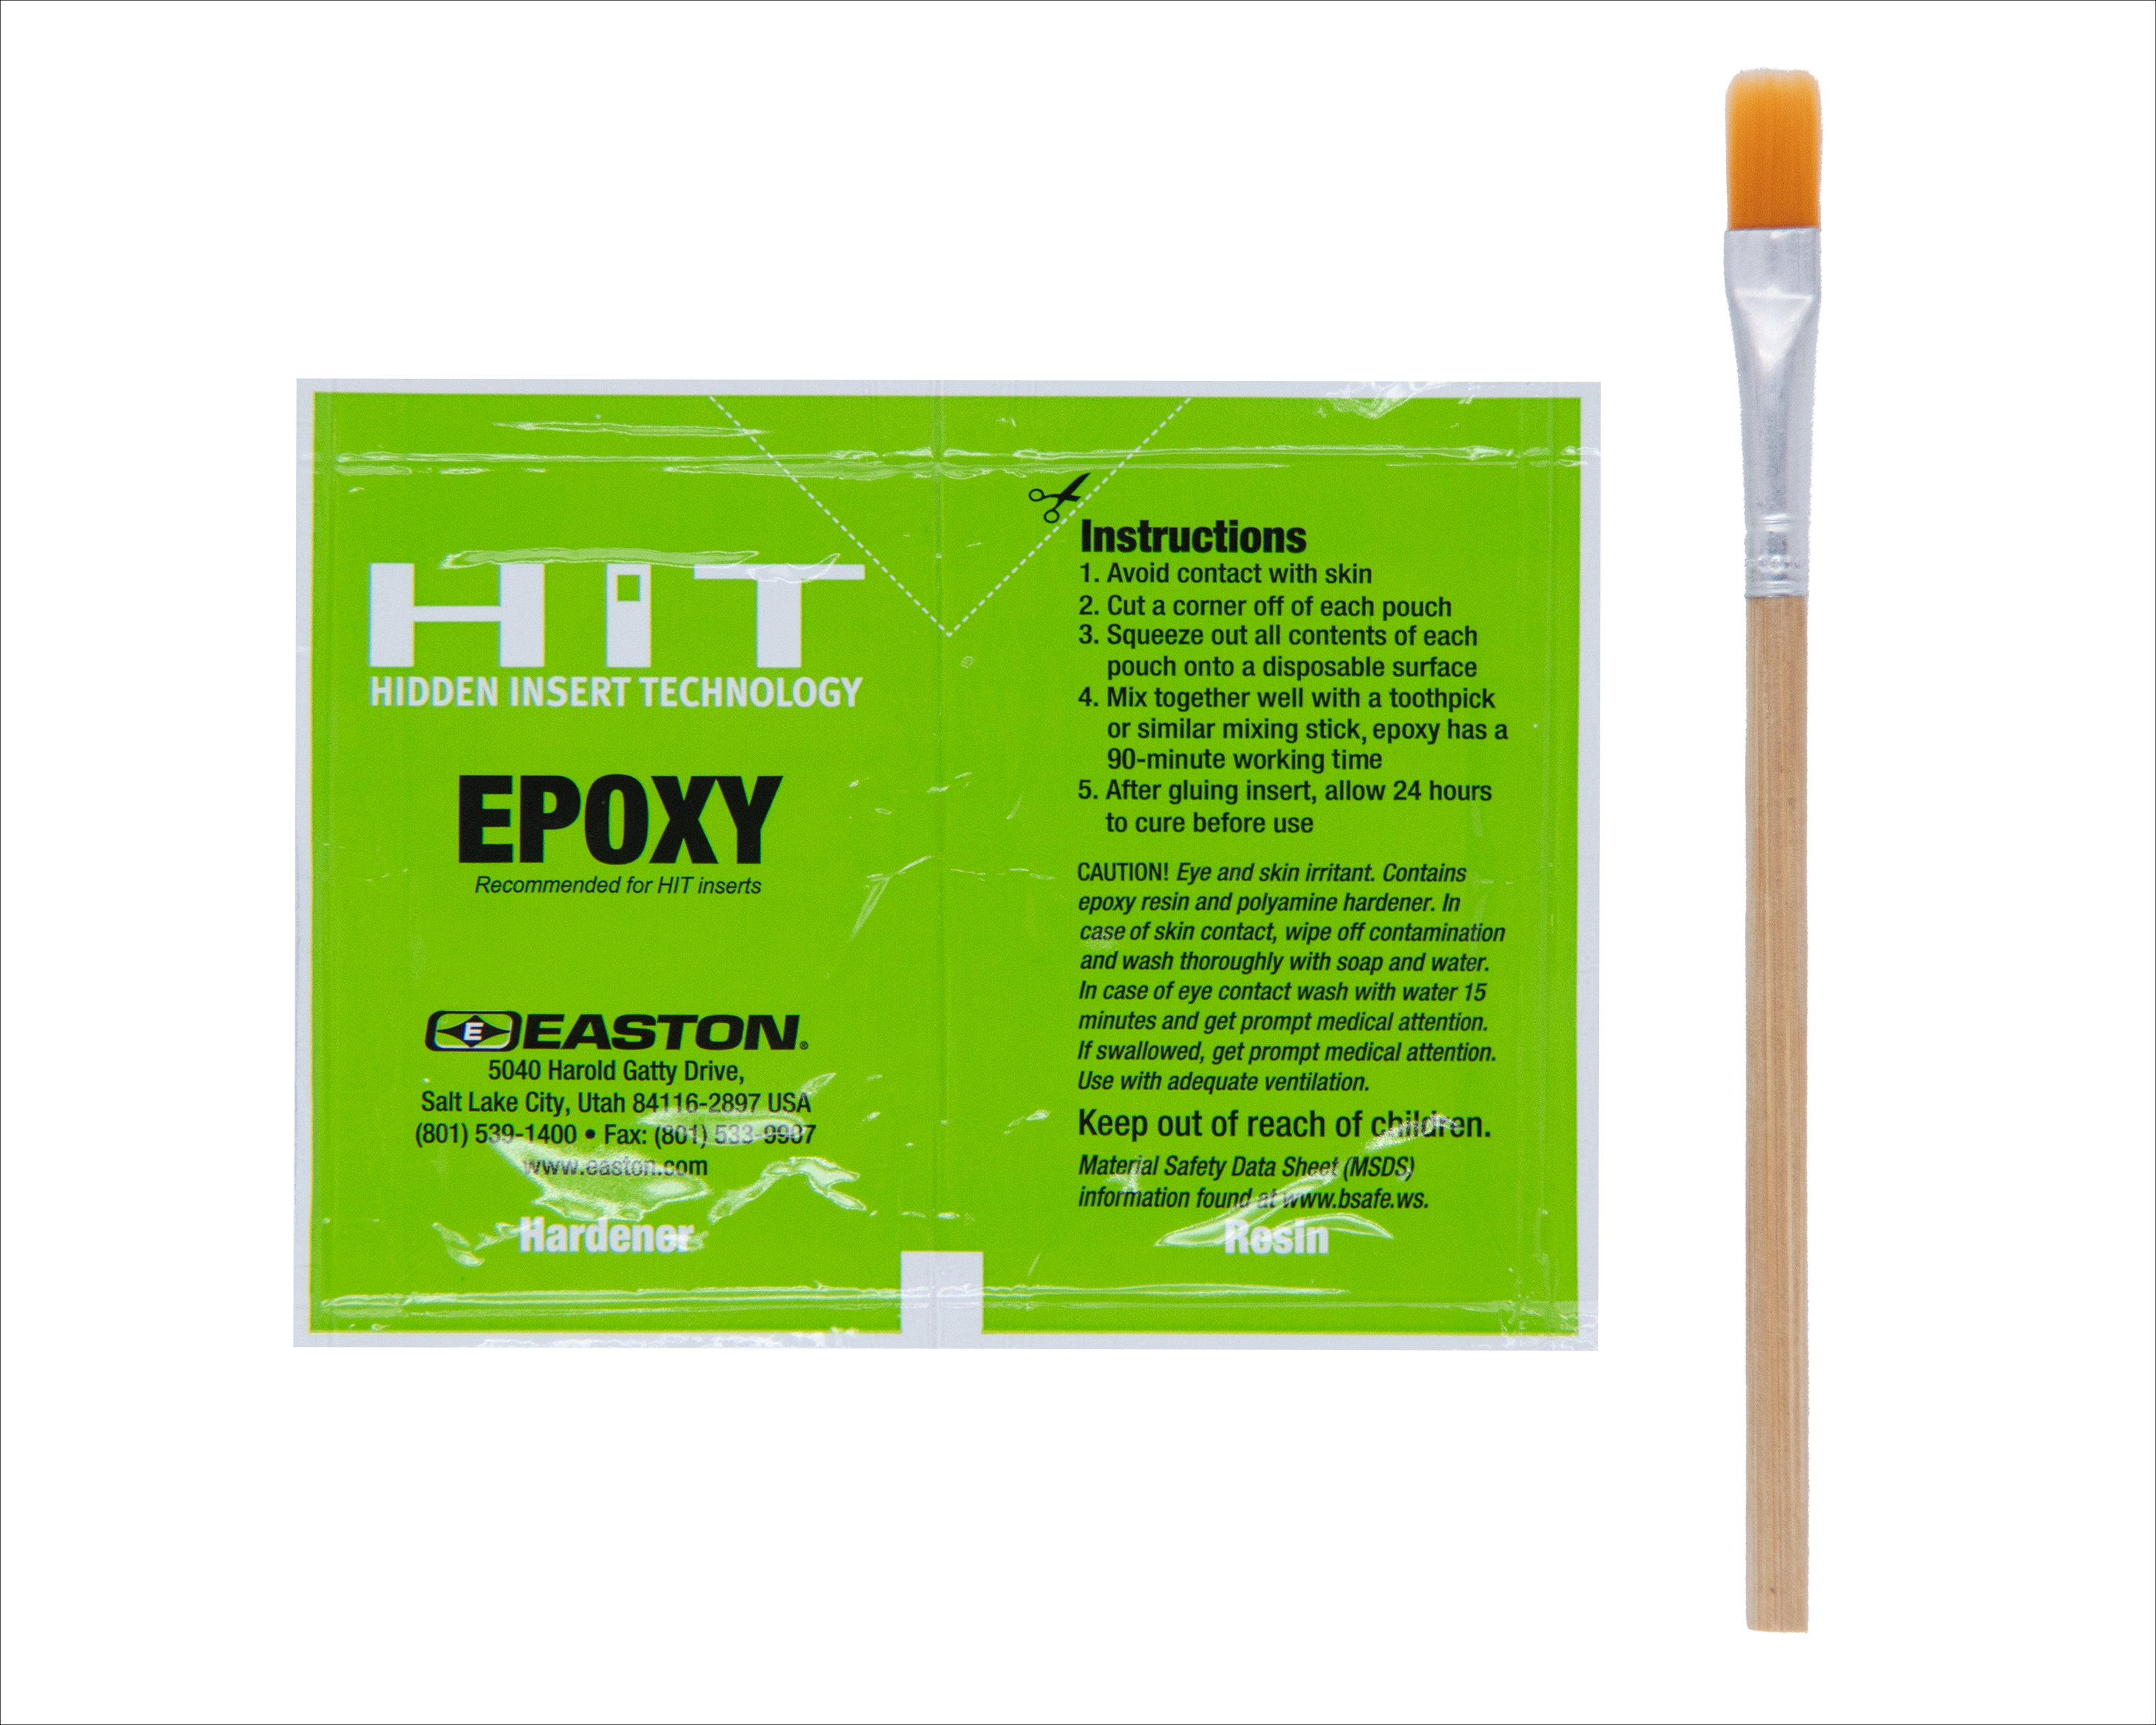
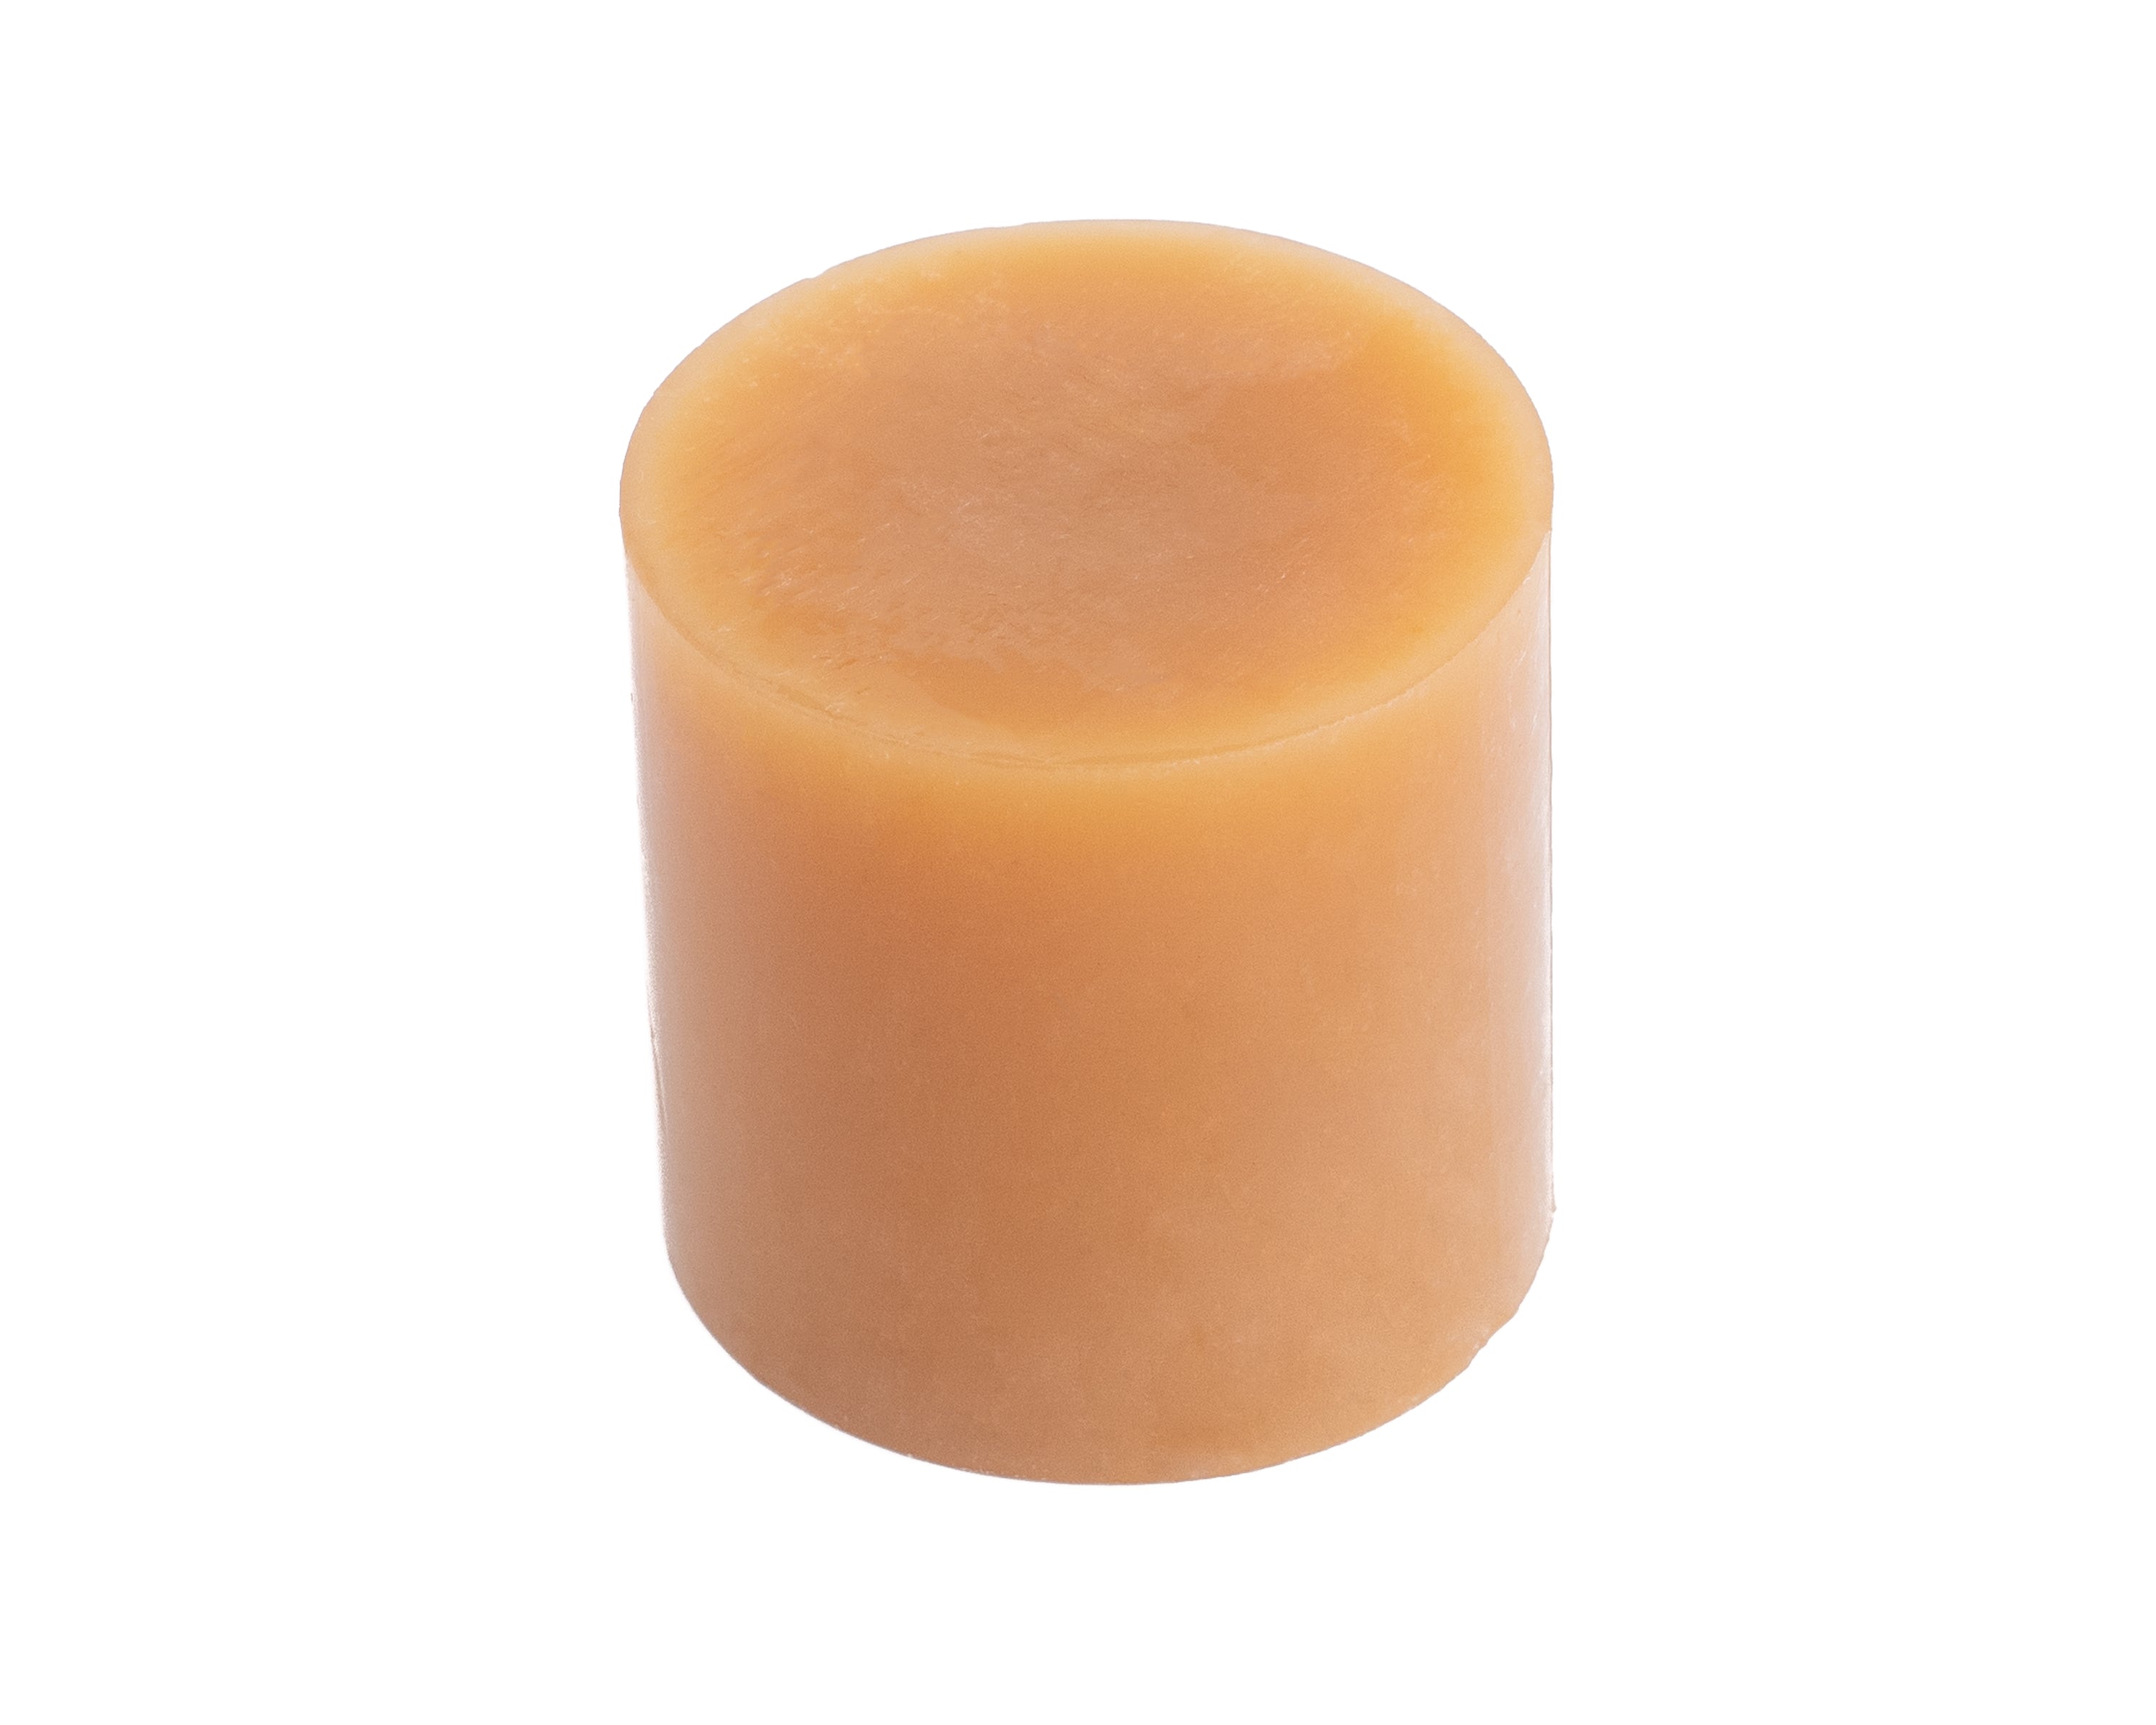
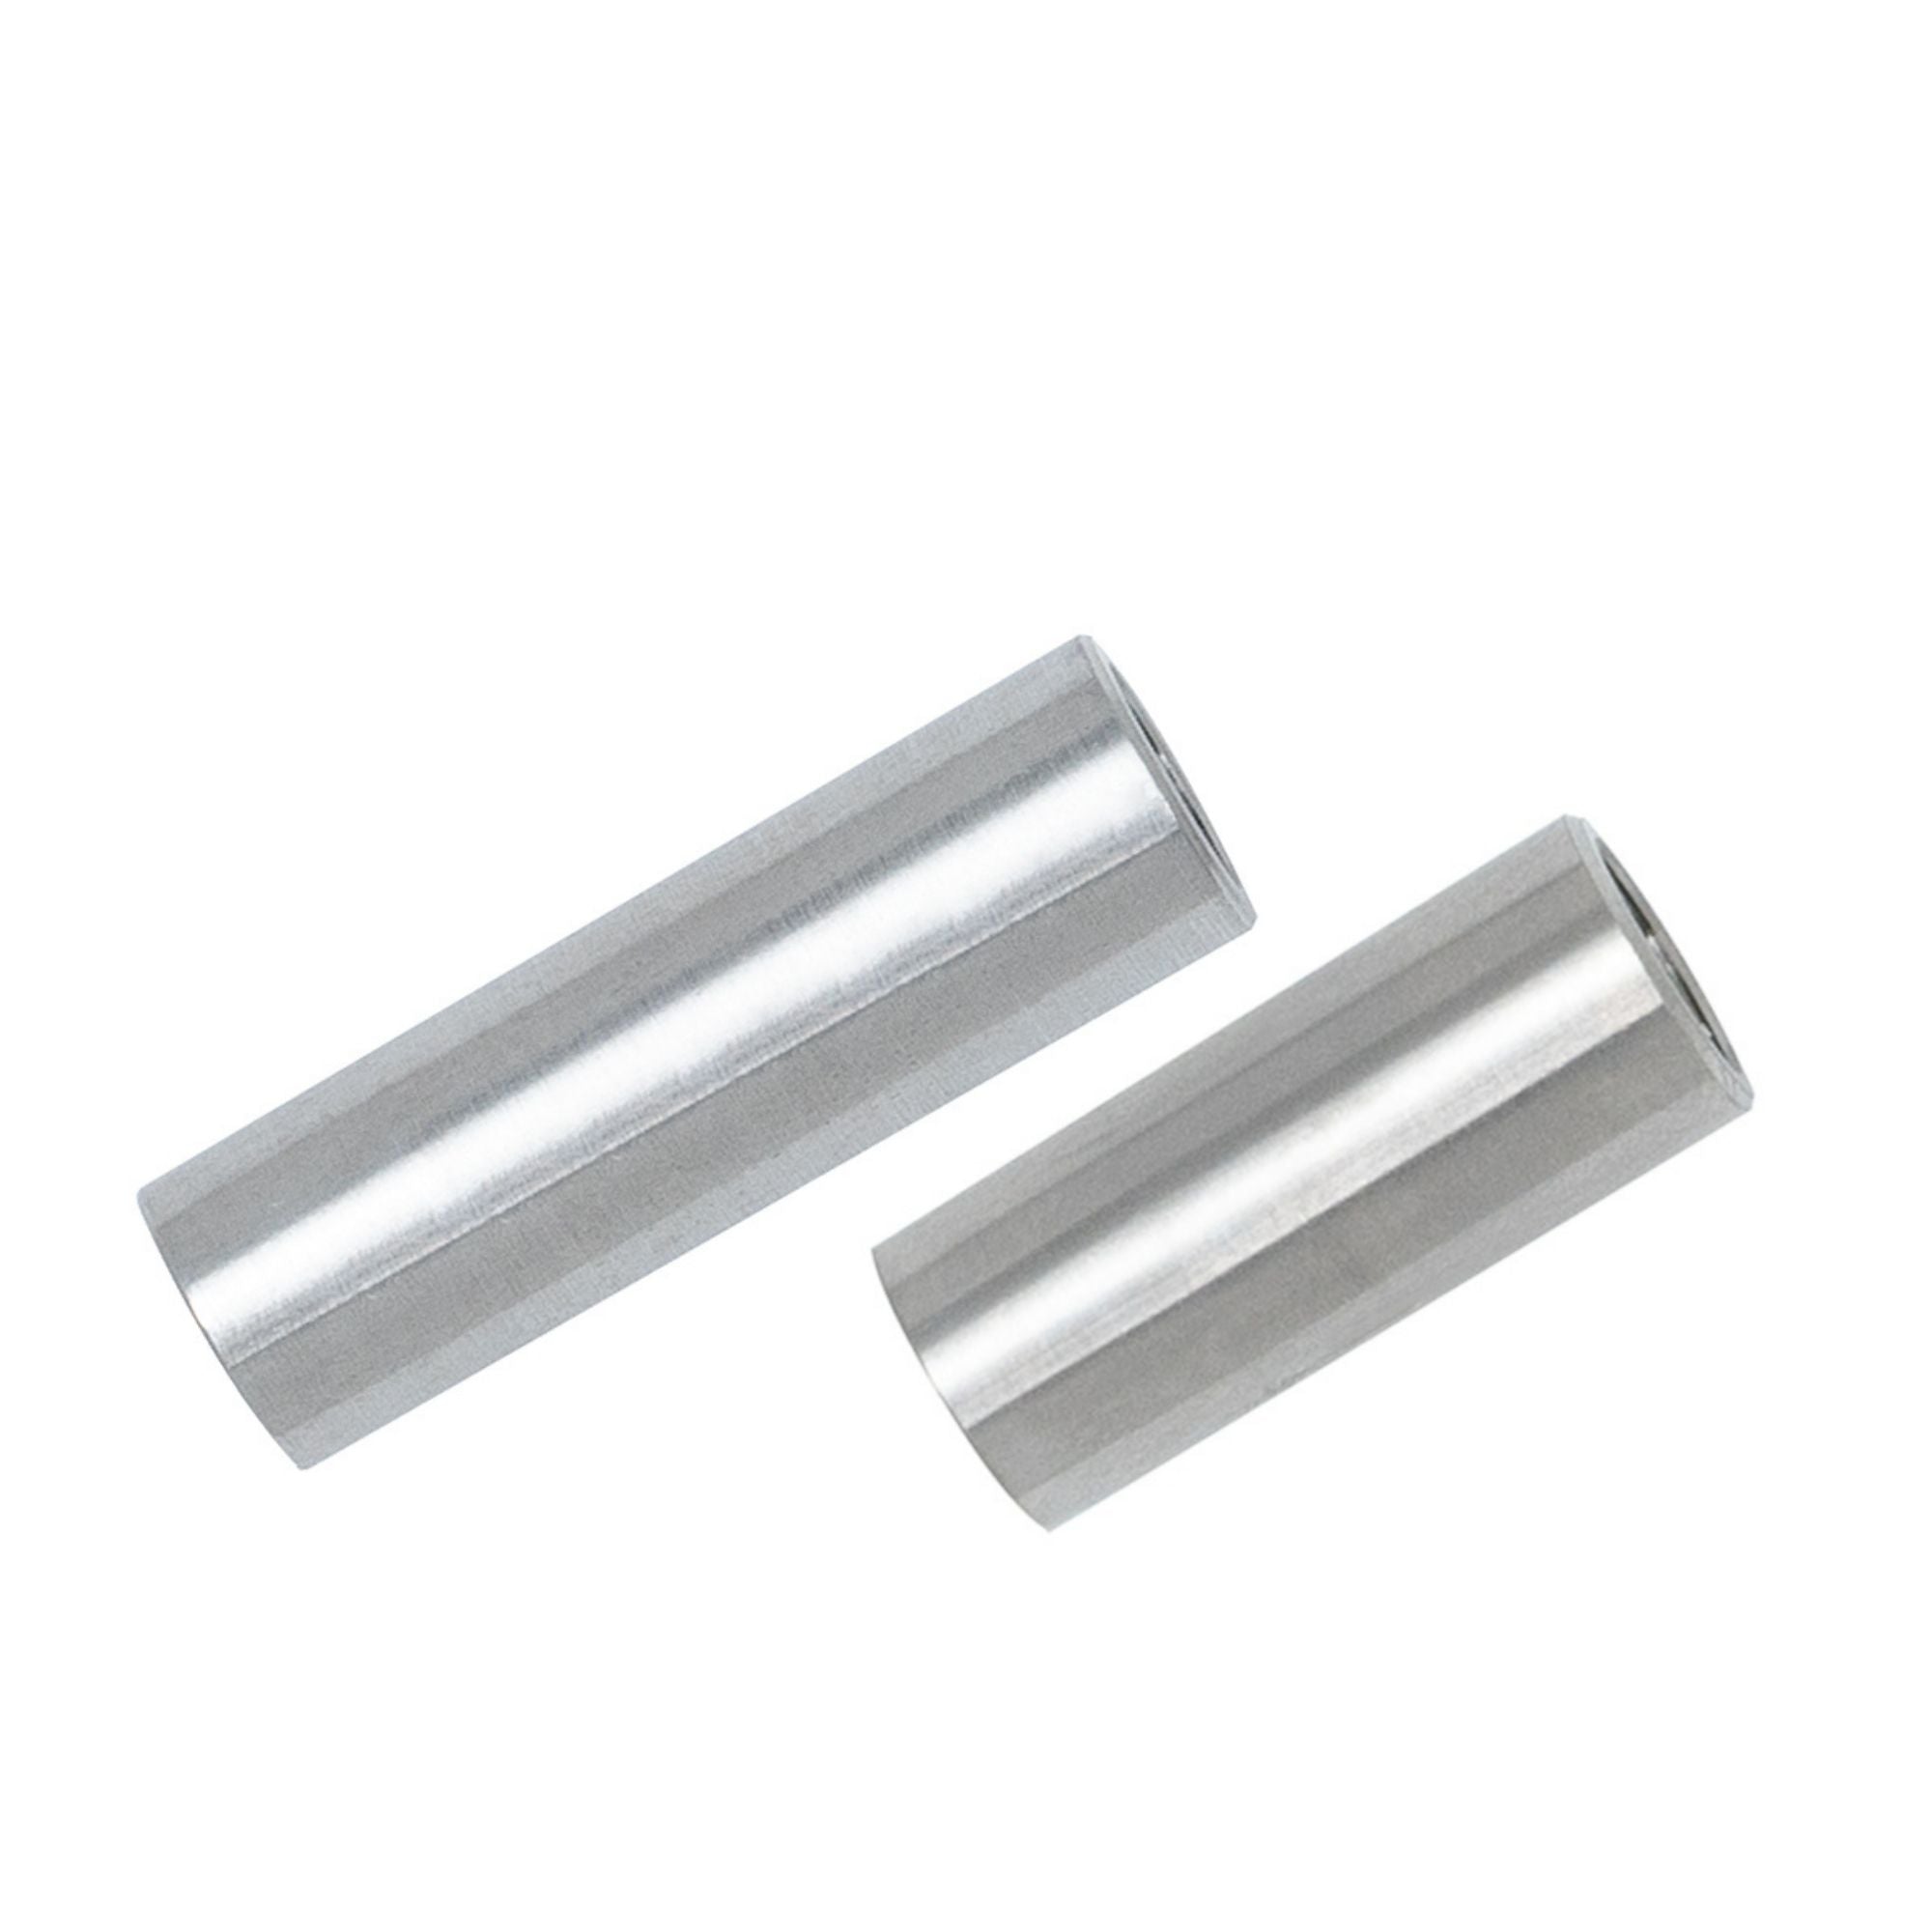
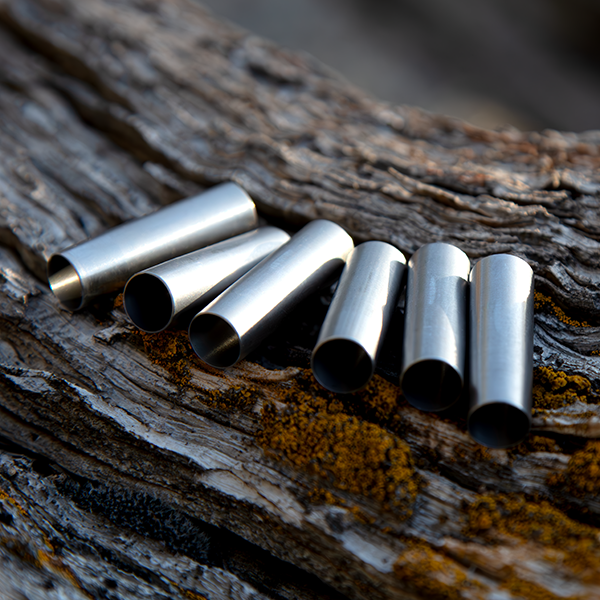
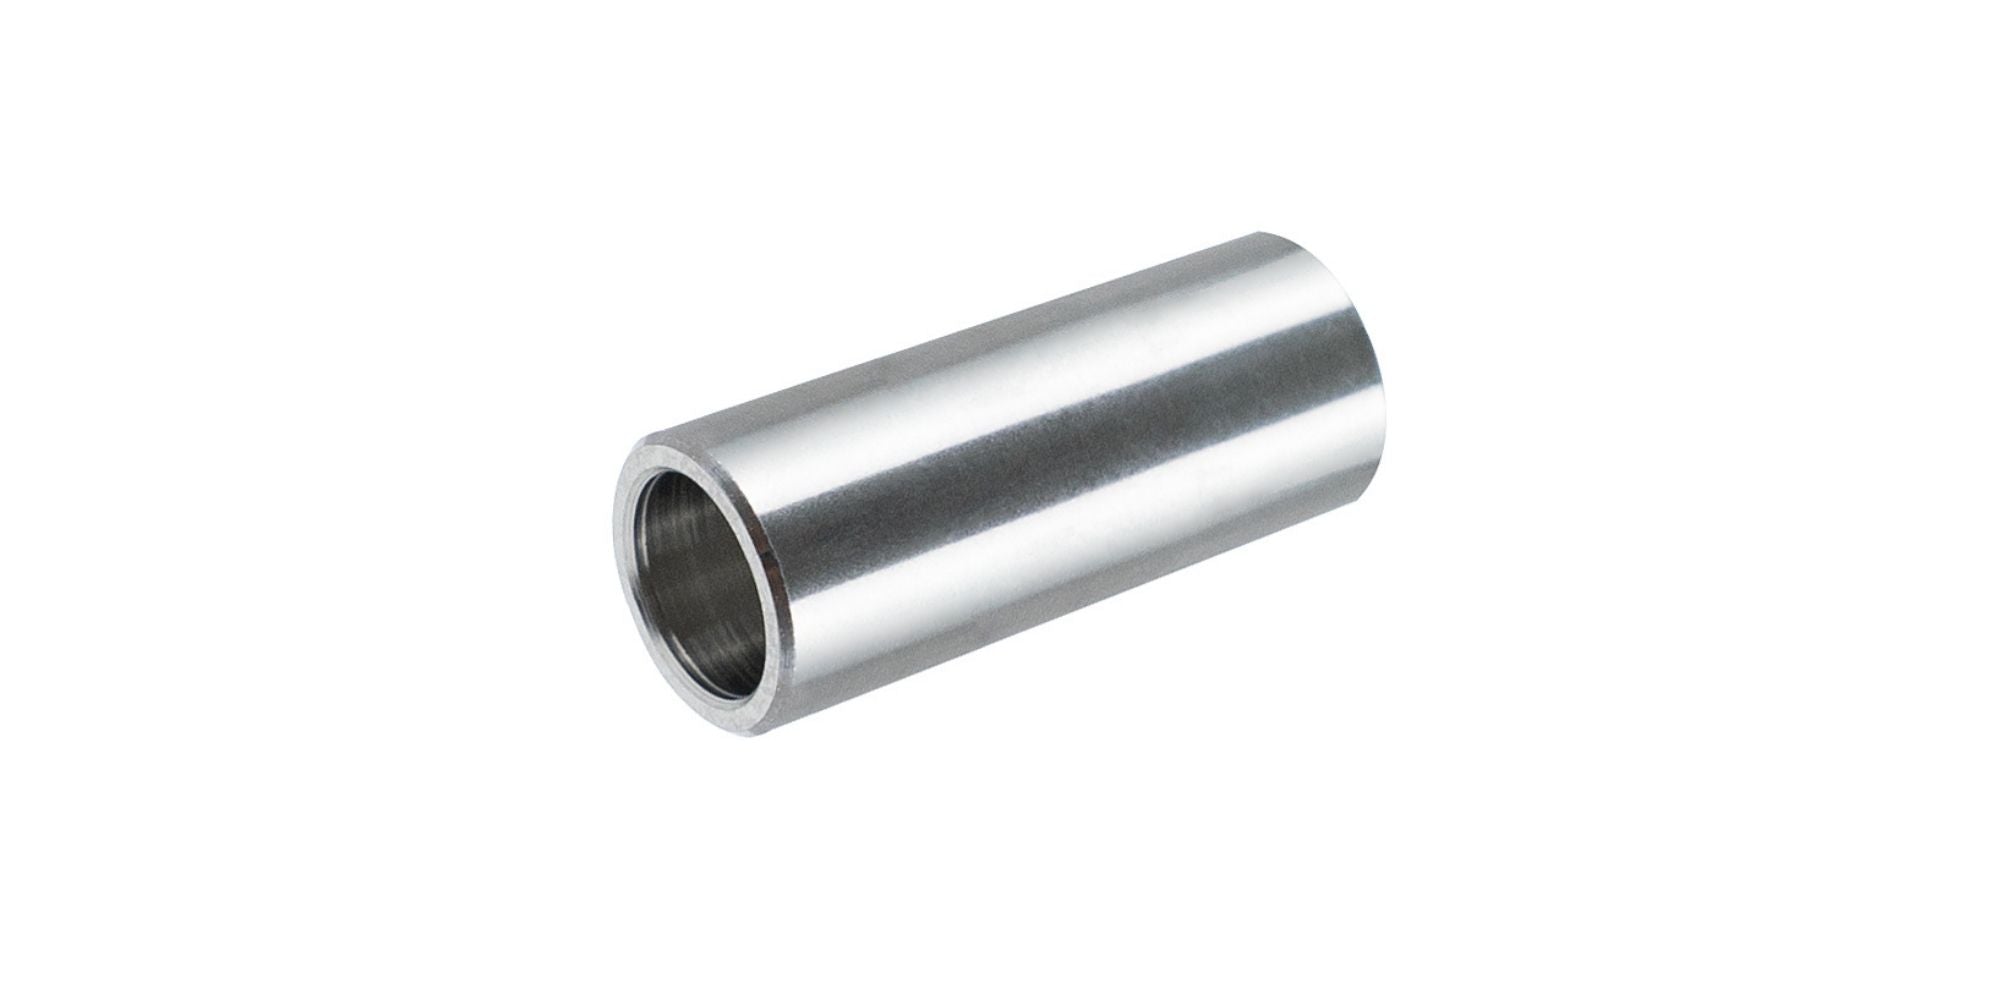
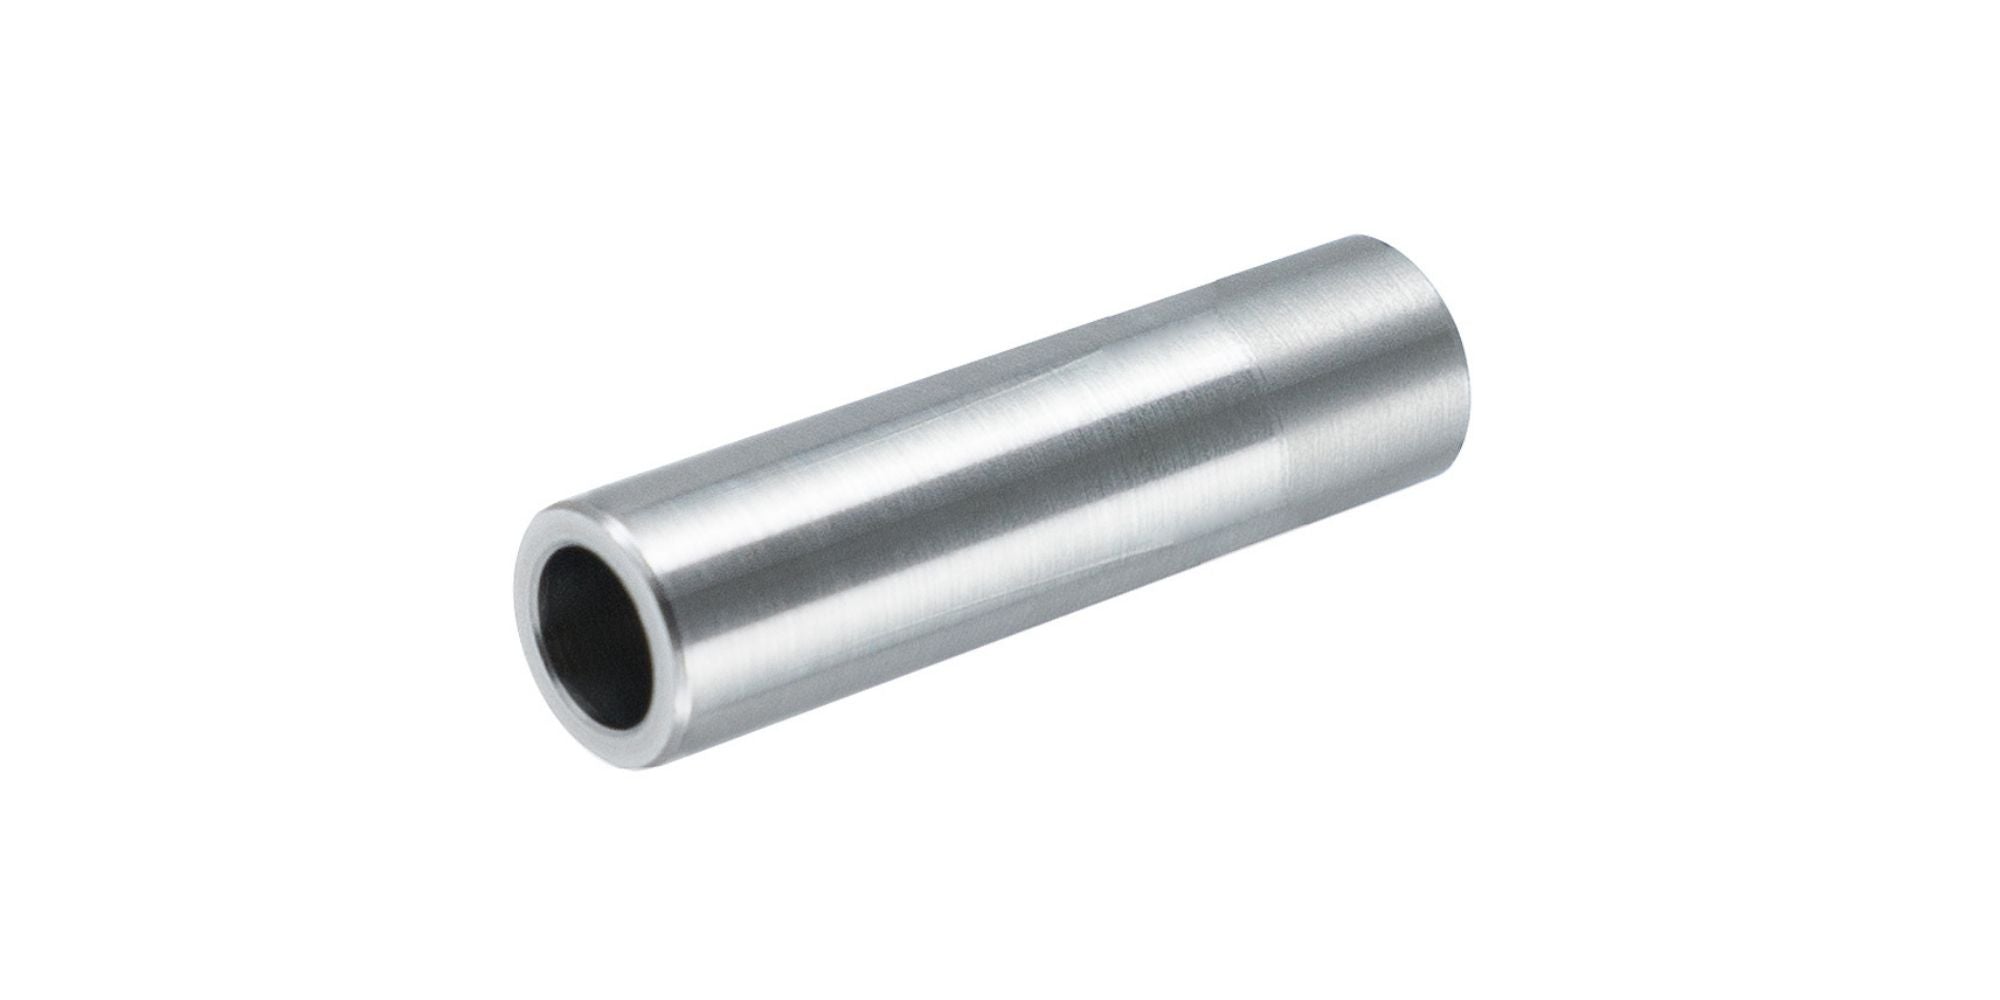
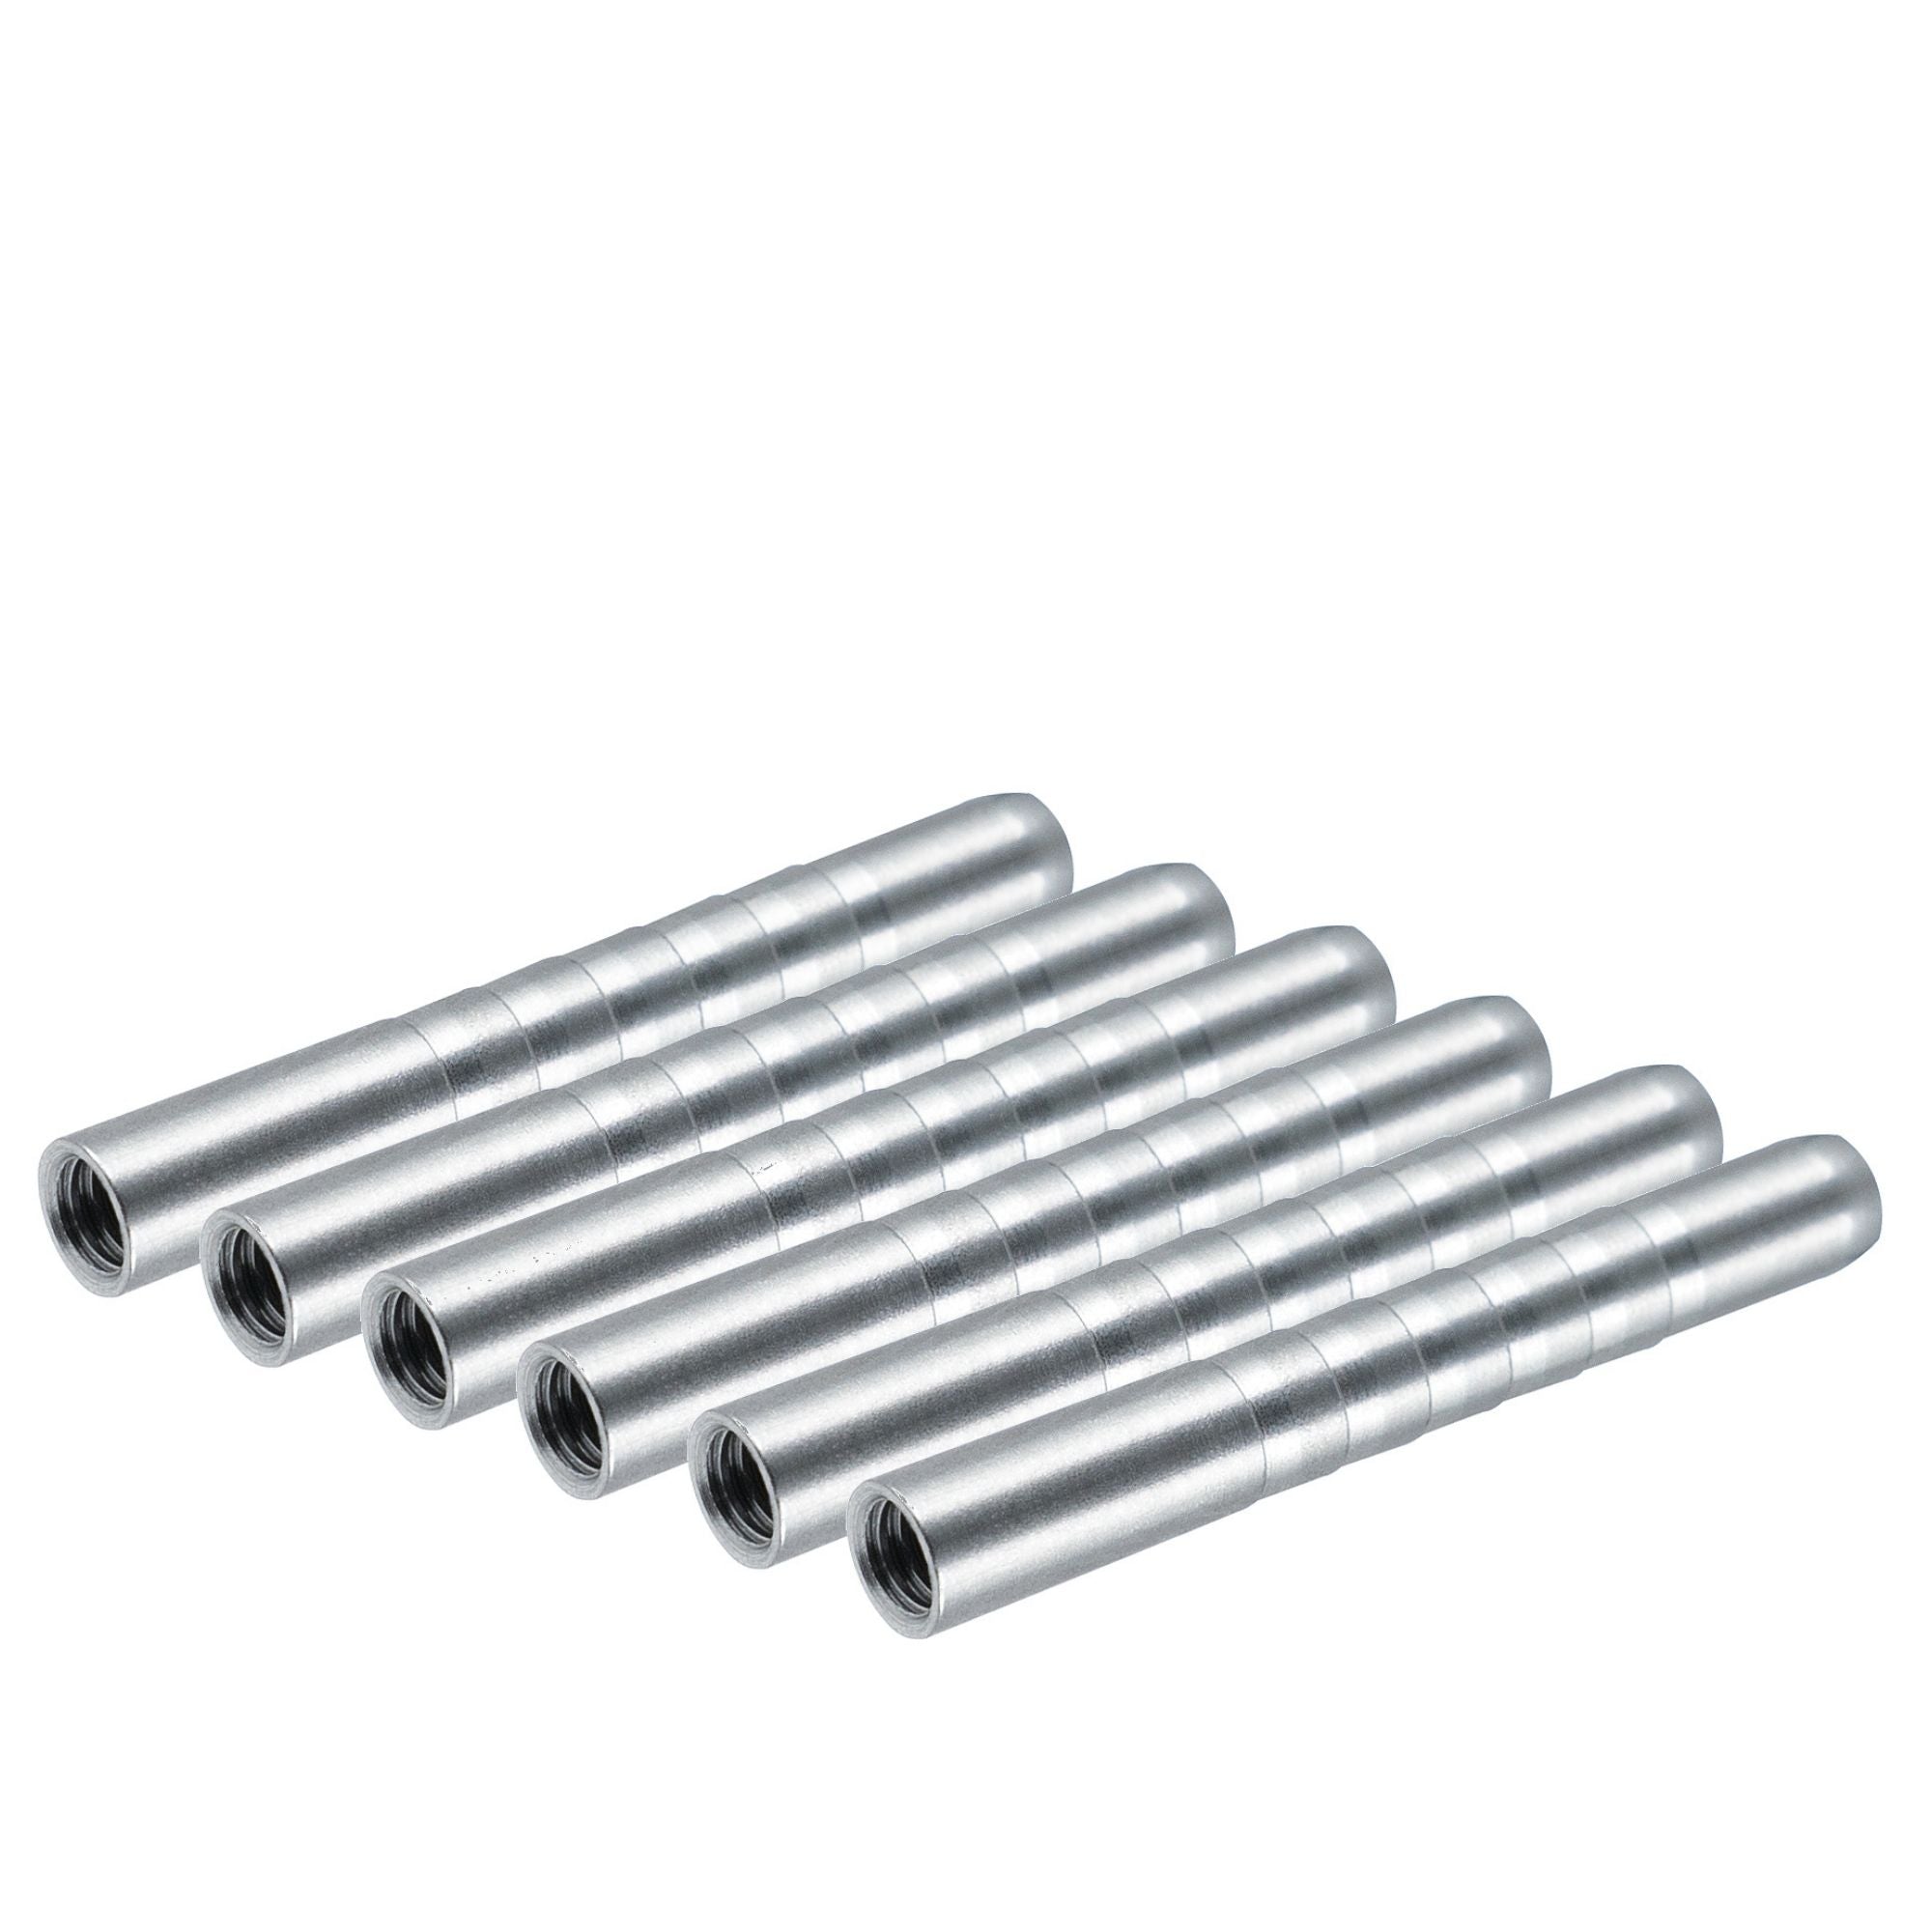
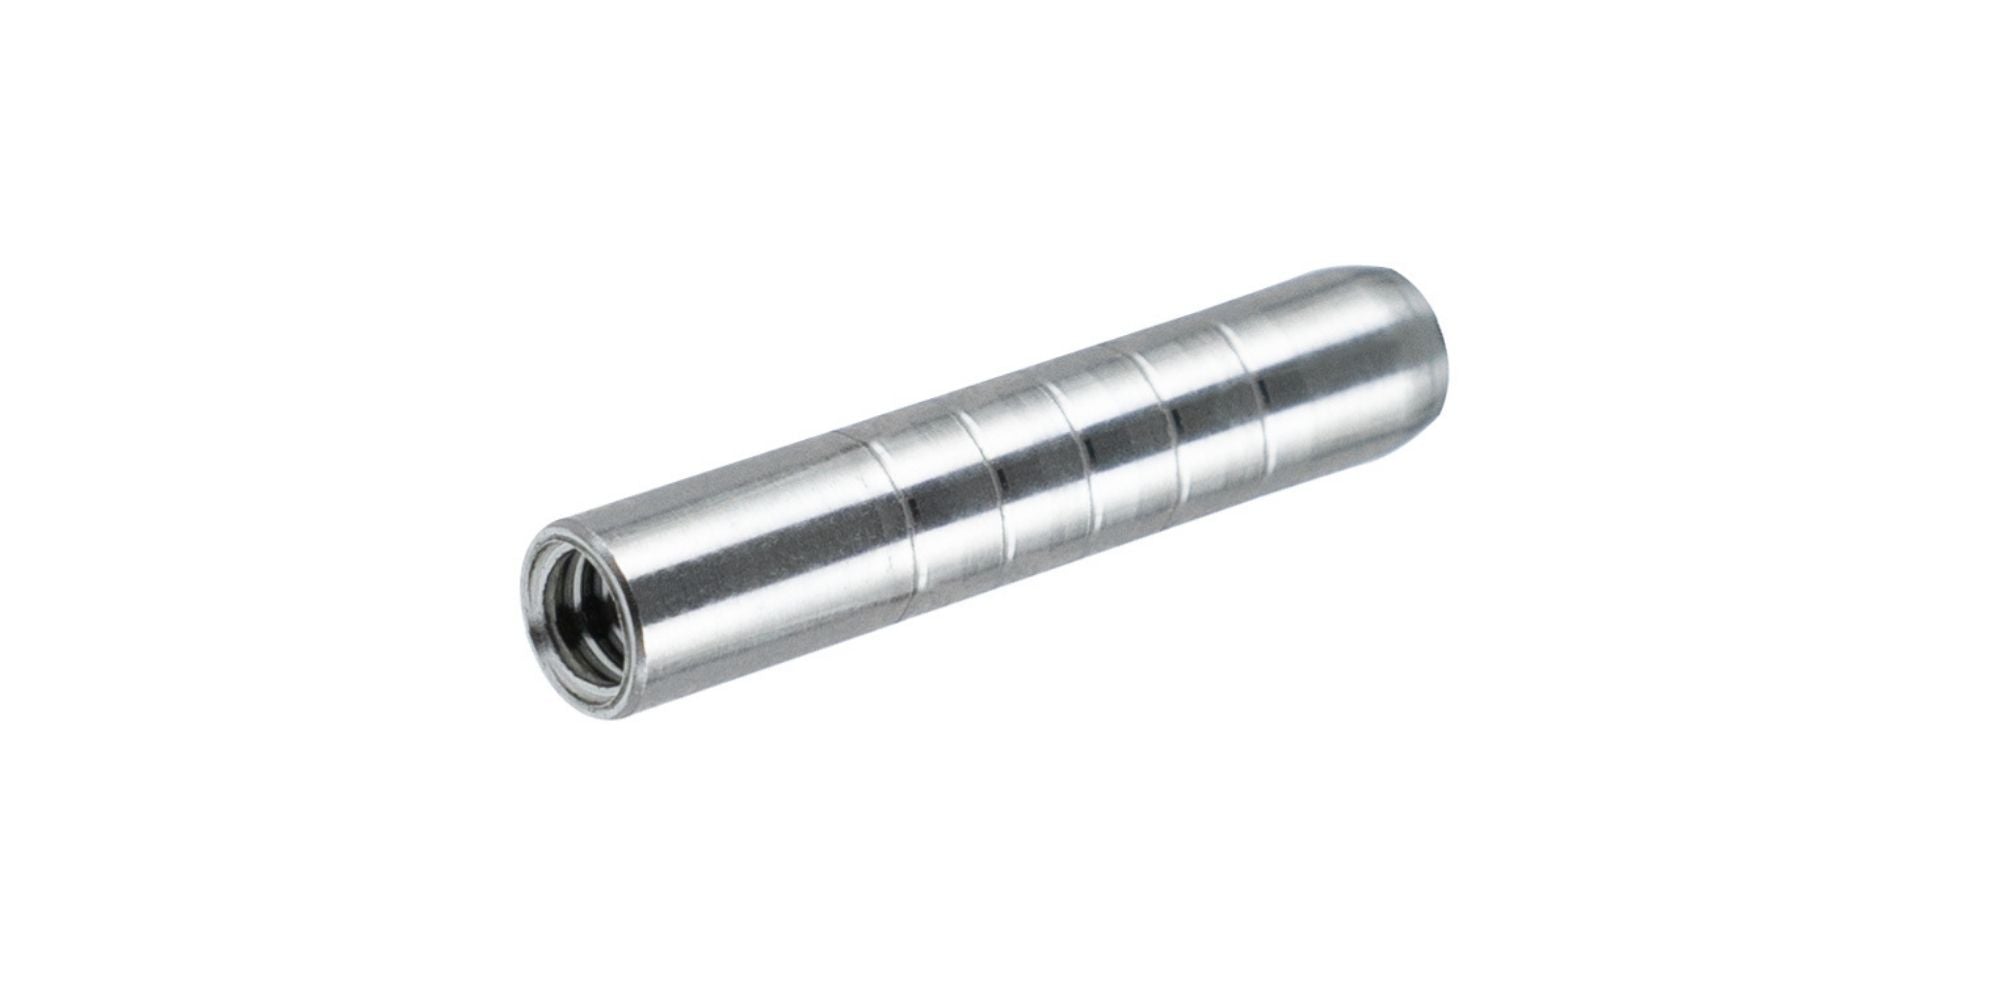
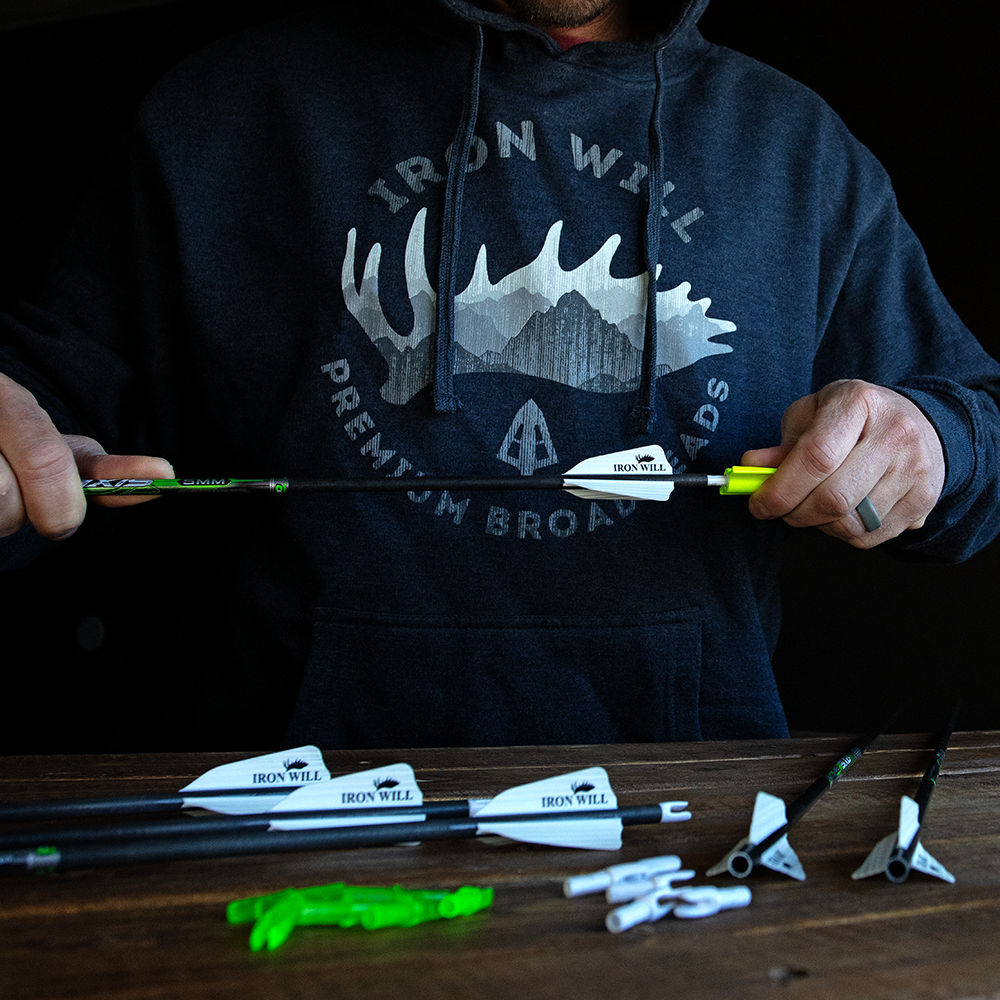
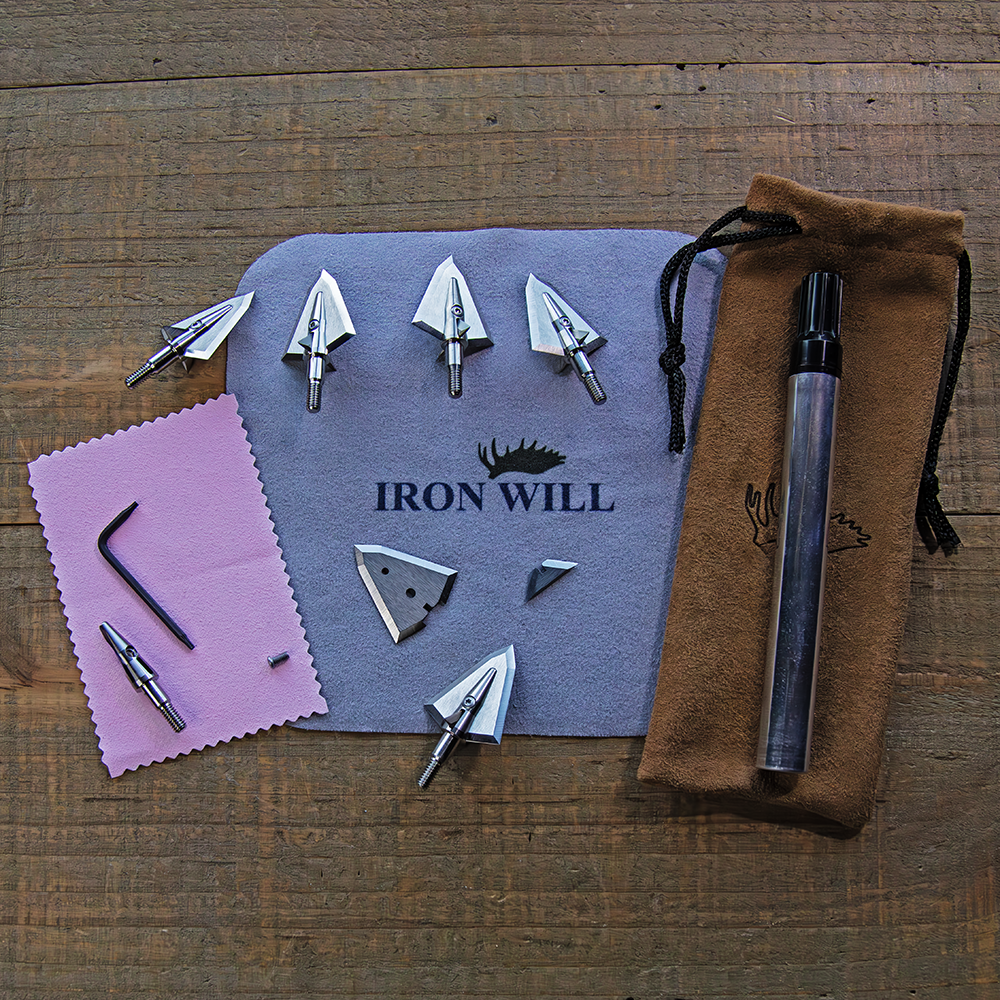
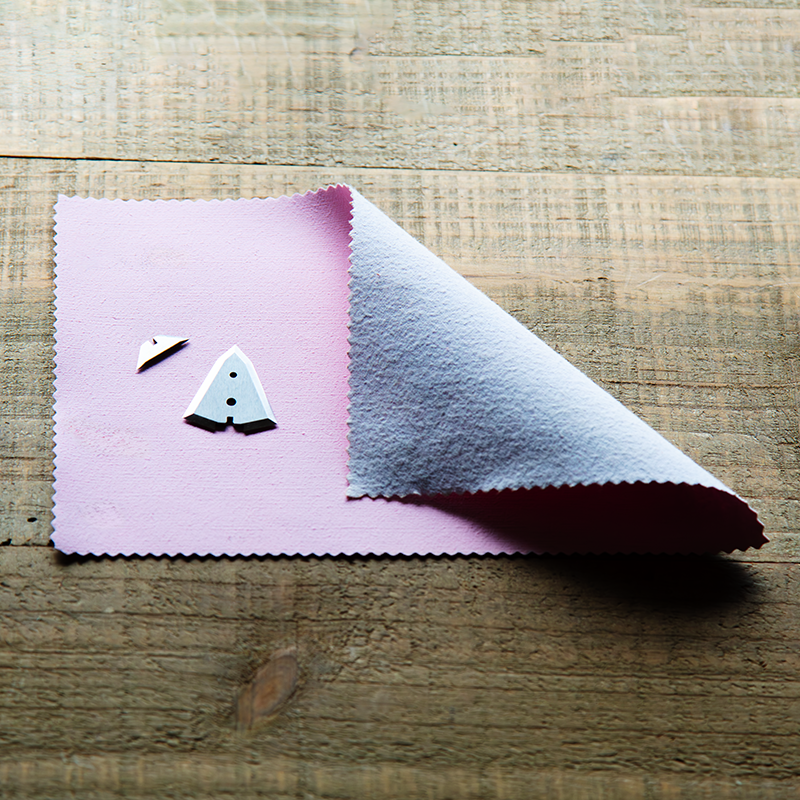
This is our recommended two-part epoxy for installing Iron Will HIT Inserts and Impact Collars. Easton HIT Epoxy is ideal for arrow building, and is used to bond components to arrows.
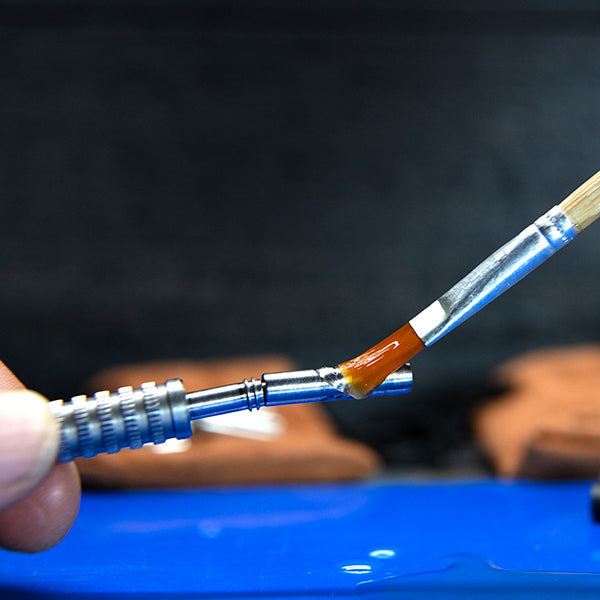
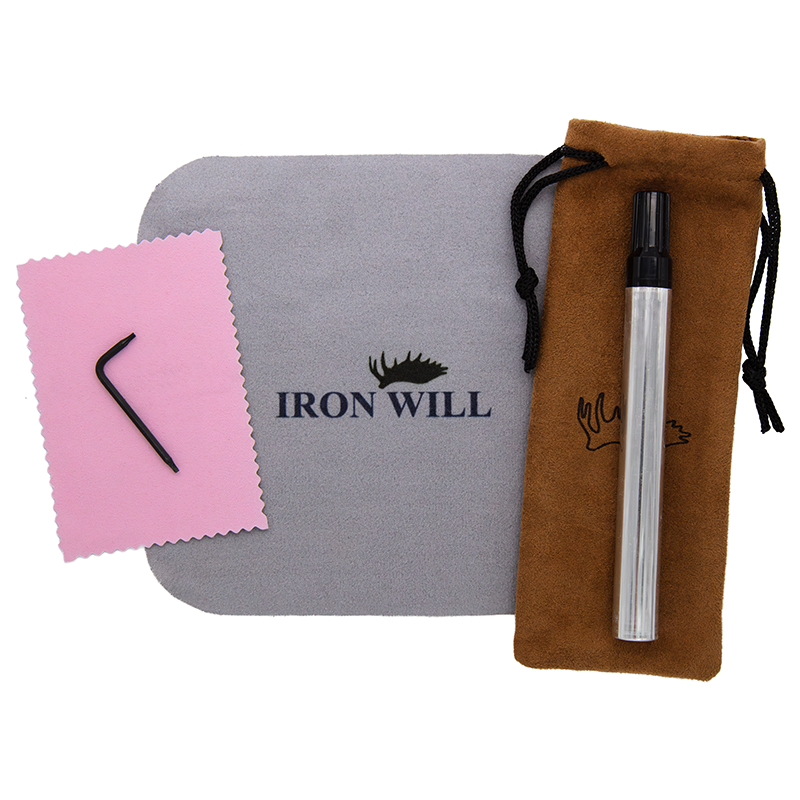
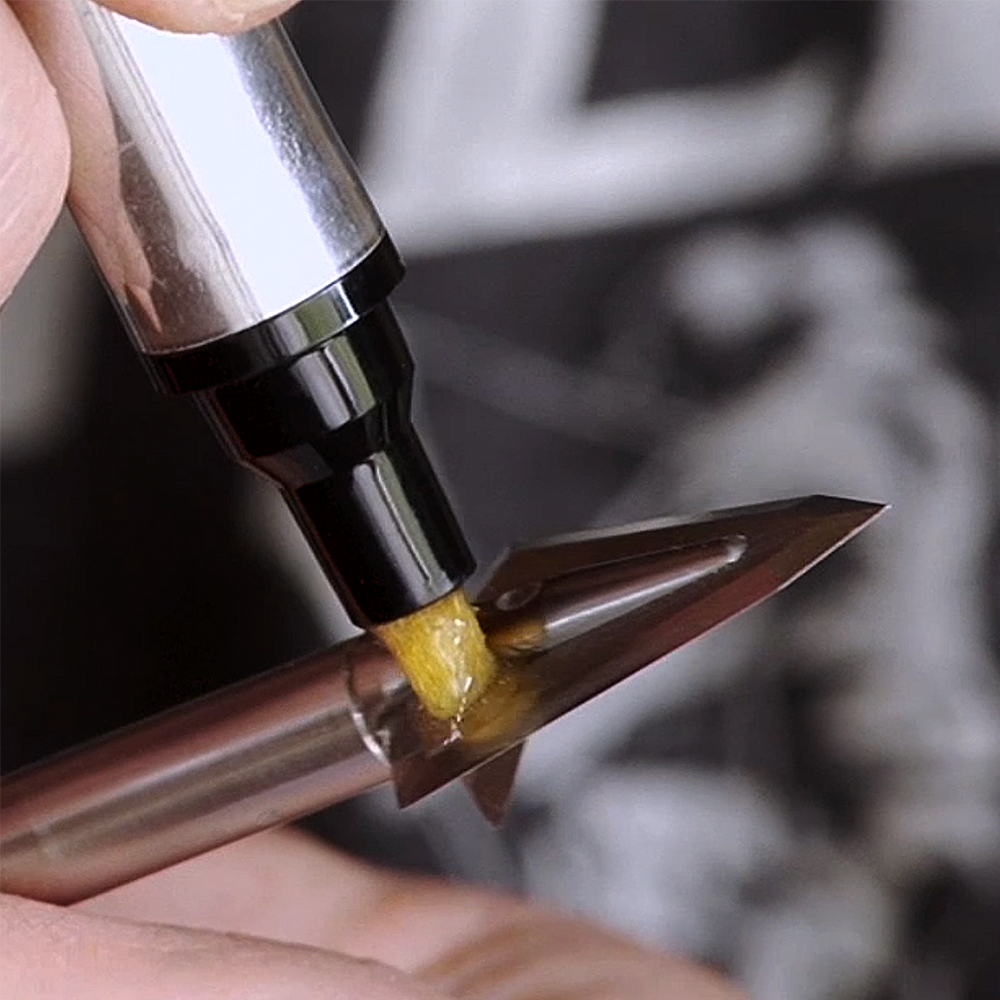
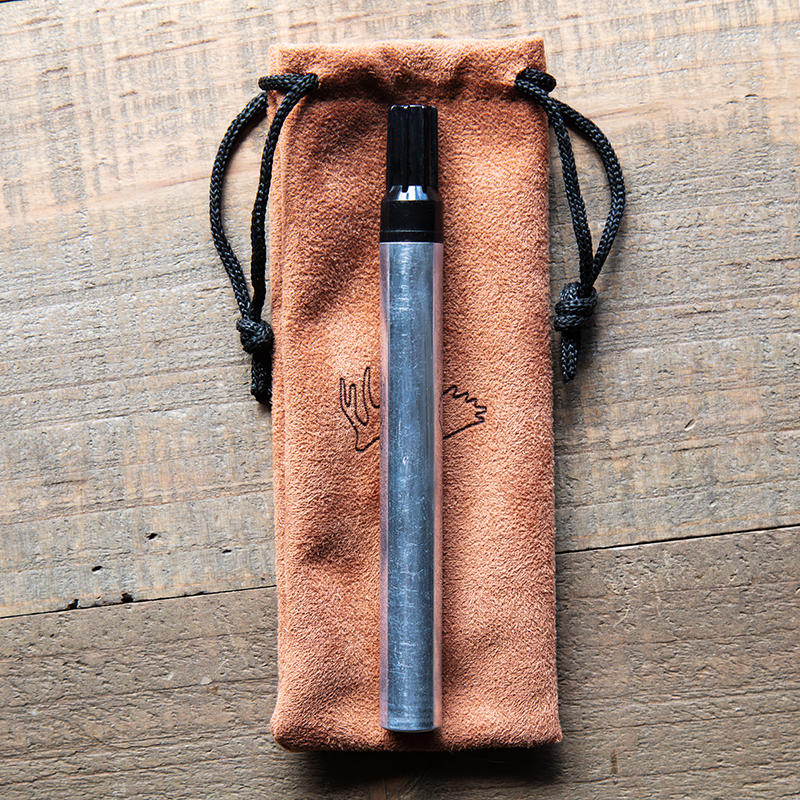
Applicator brushes are recommended for placing epoxy precisely where needed. A more precise placement of the epoxy ensures adequate coverage and adhesion when epoxy dries, which makes for the most durable arrow component installation.
Easton Insert Epoxy cures in 24 hours. Packets contain enough epoxy to glue a dozen Inserts or Collars onto arrows. For gluing both Inserts and Collars, we recommend ordering two packets so you can install them at least 24 hours apart.
HIT (Hidden Insert Technology) is used under license as a registered trademark of Easton Technical Products.
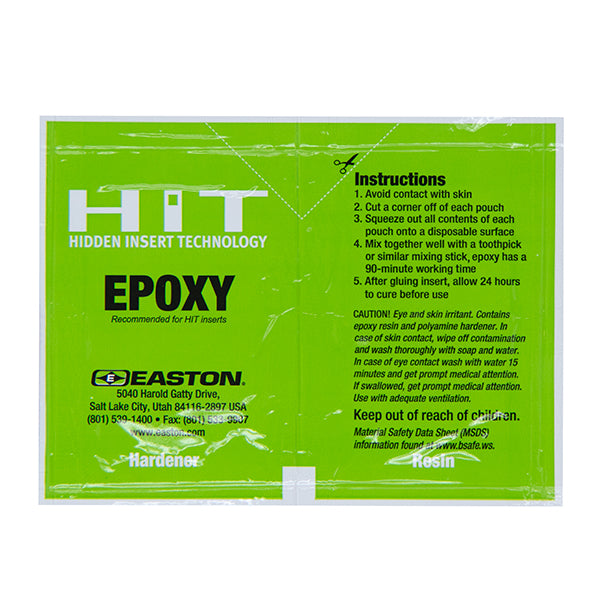
1) Avoid contact with skin.
2) Cut a corner off of each pouch.
3) Squeeze out all contents of each pouch onto a disposable surface.
4) Mix together well with an Iron Will brush (recommended) or mixing stick. Epoxy has a maximum 90 minute working time.
1) Remove the nocks in your arrows to prevent any vacuum from forming during this process.
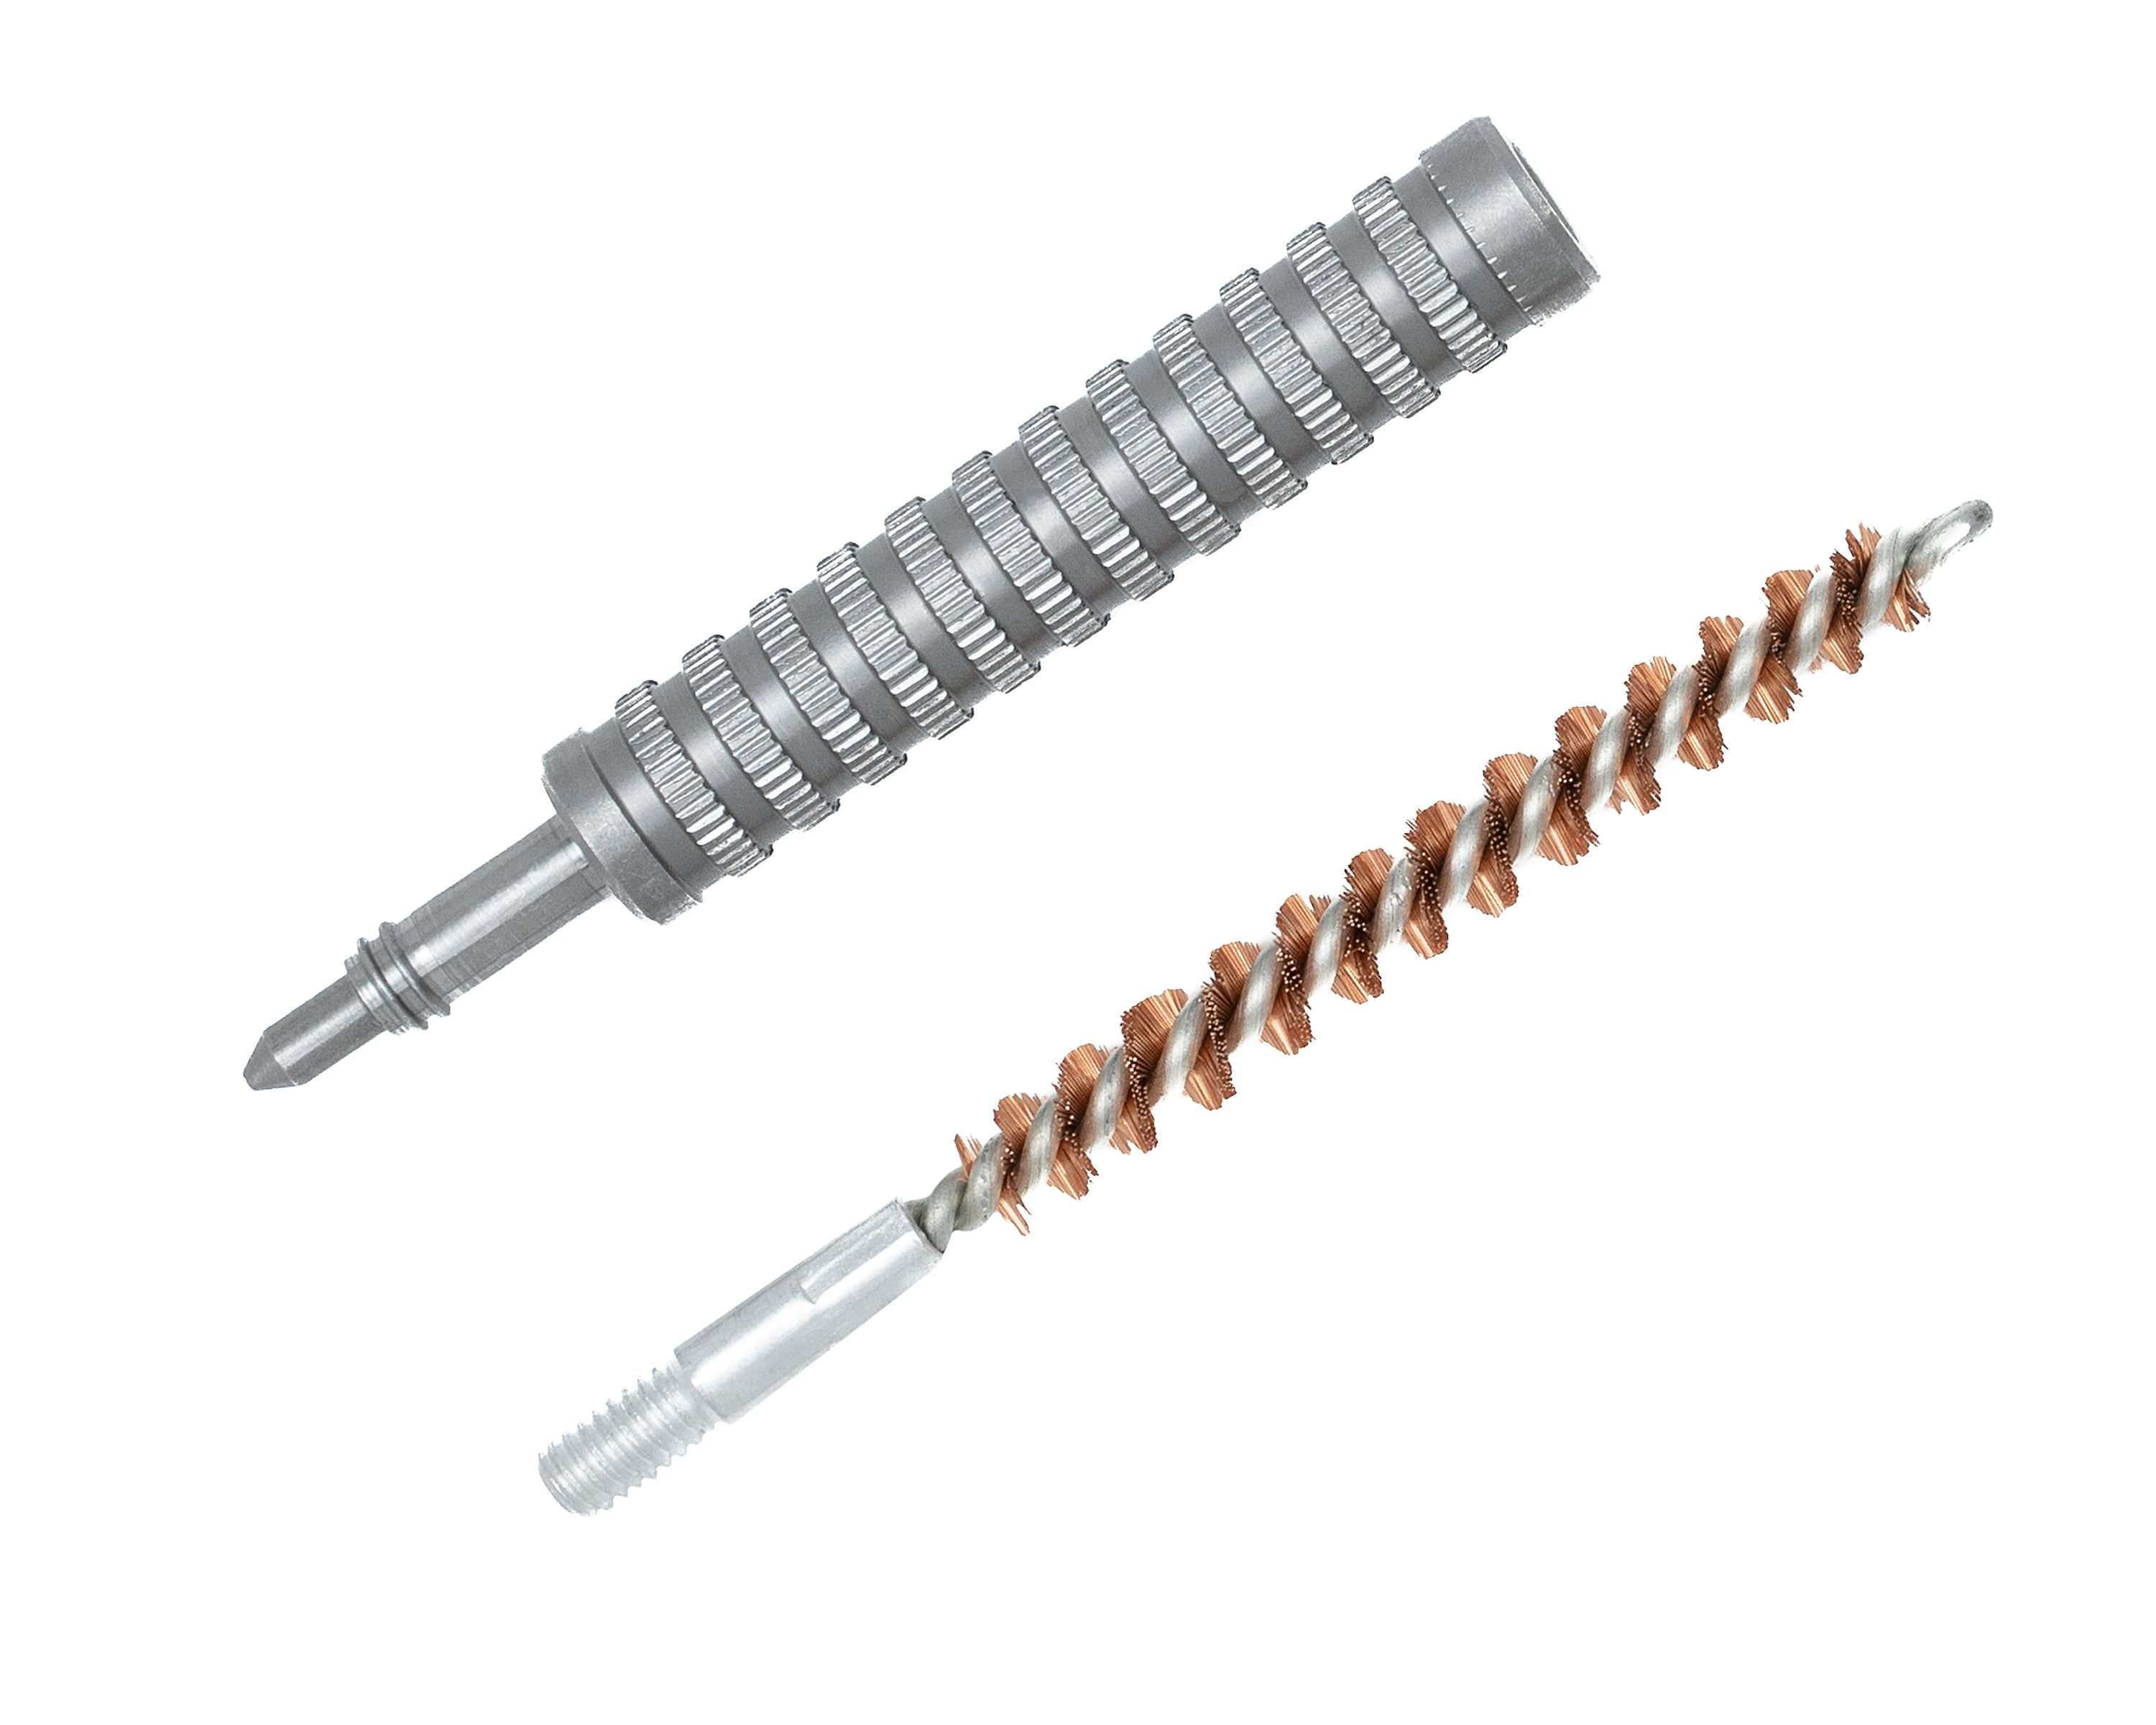
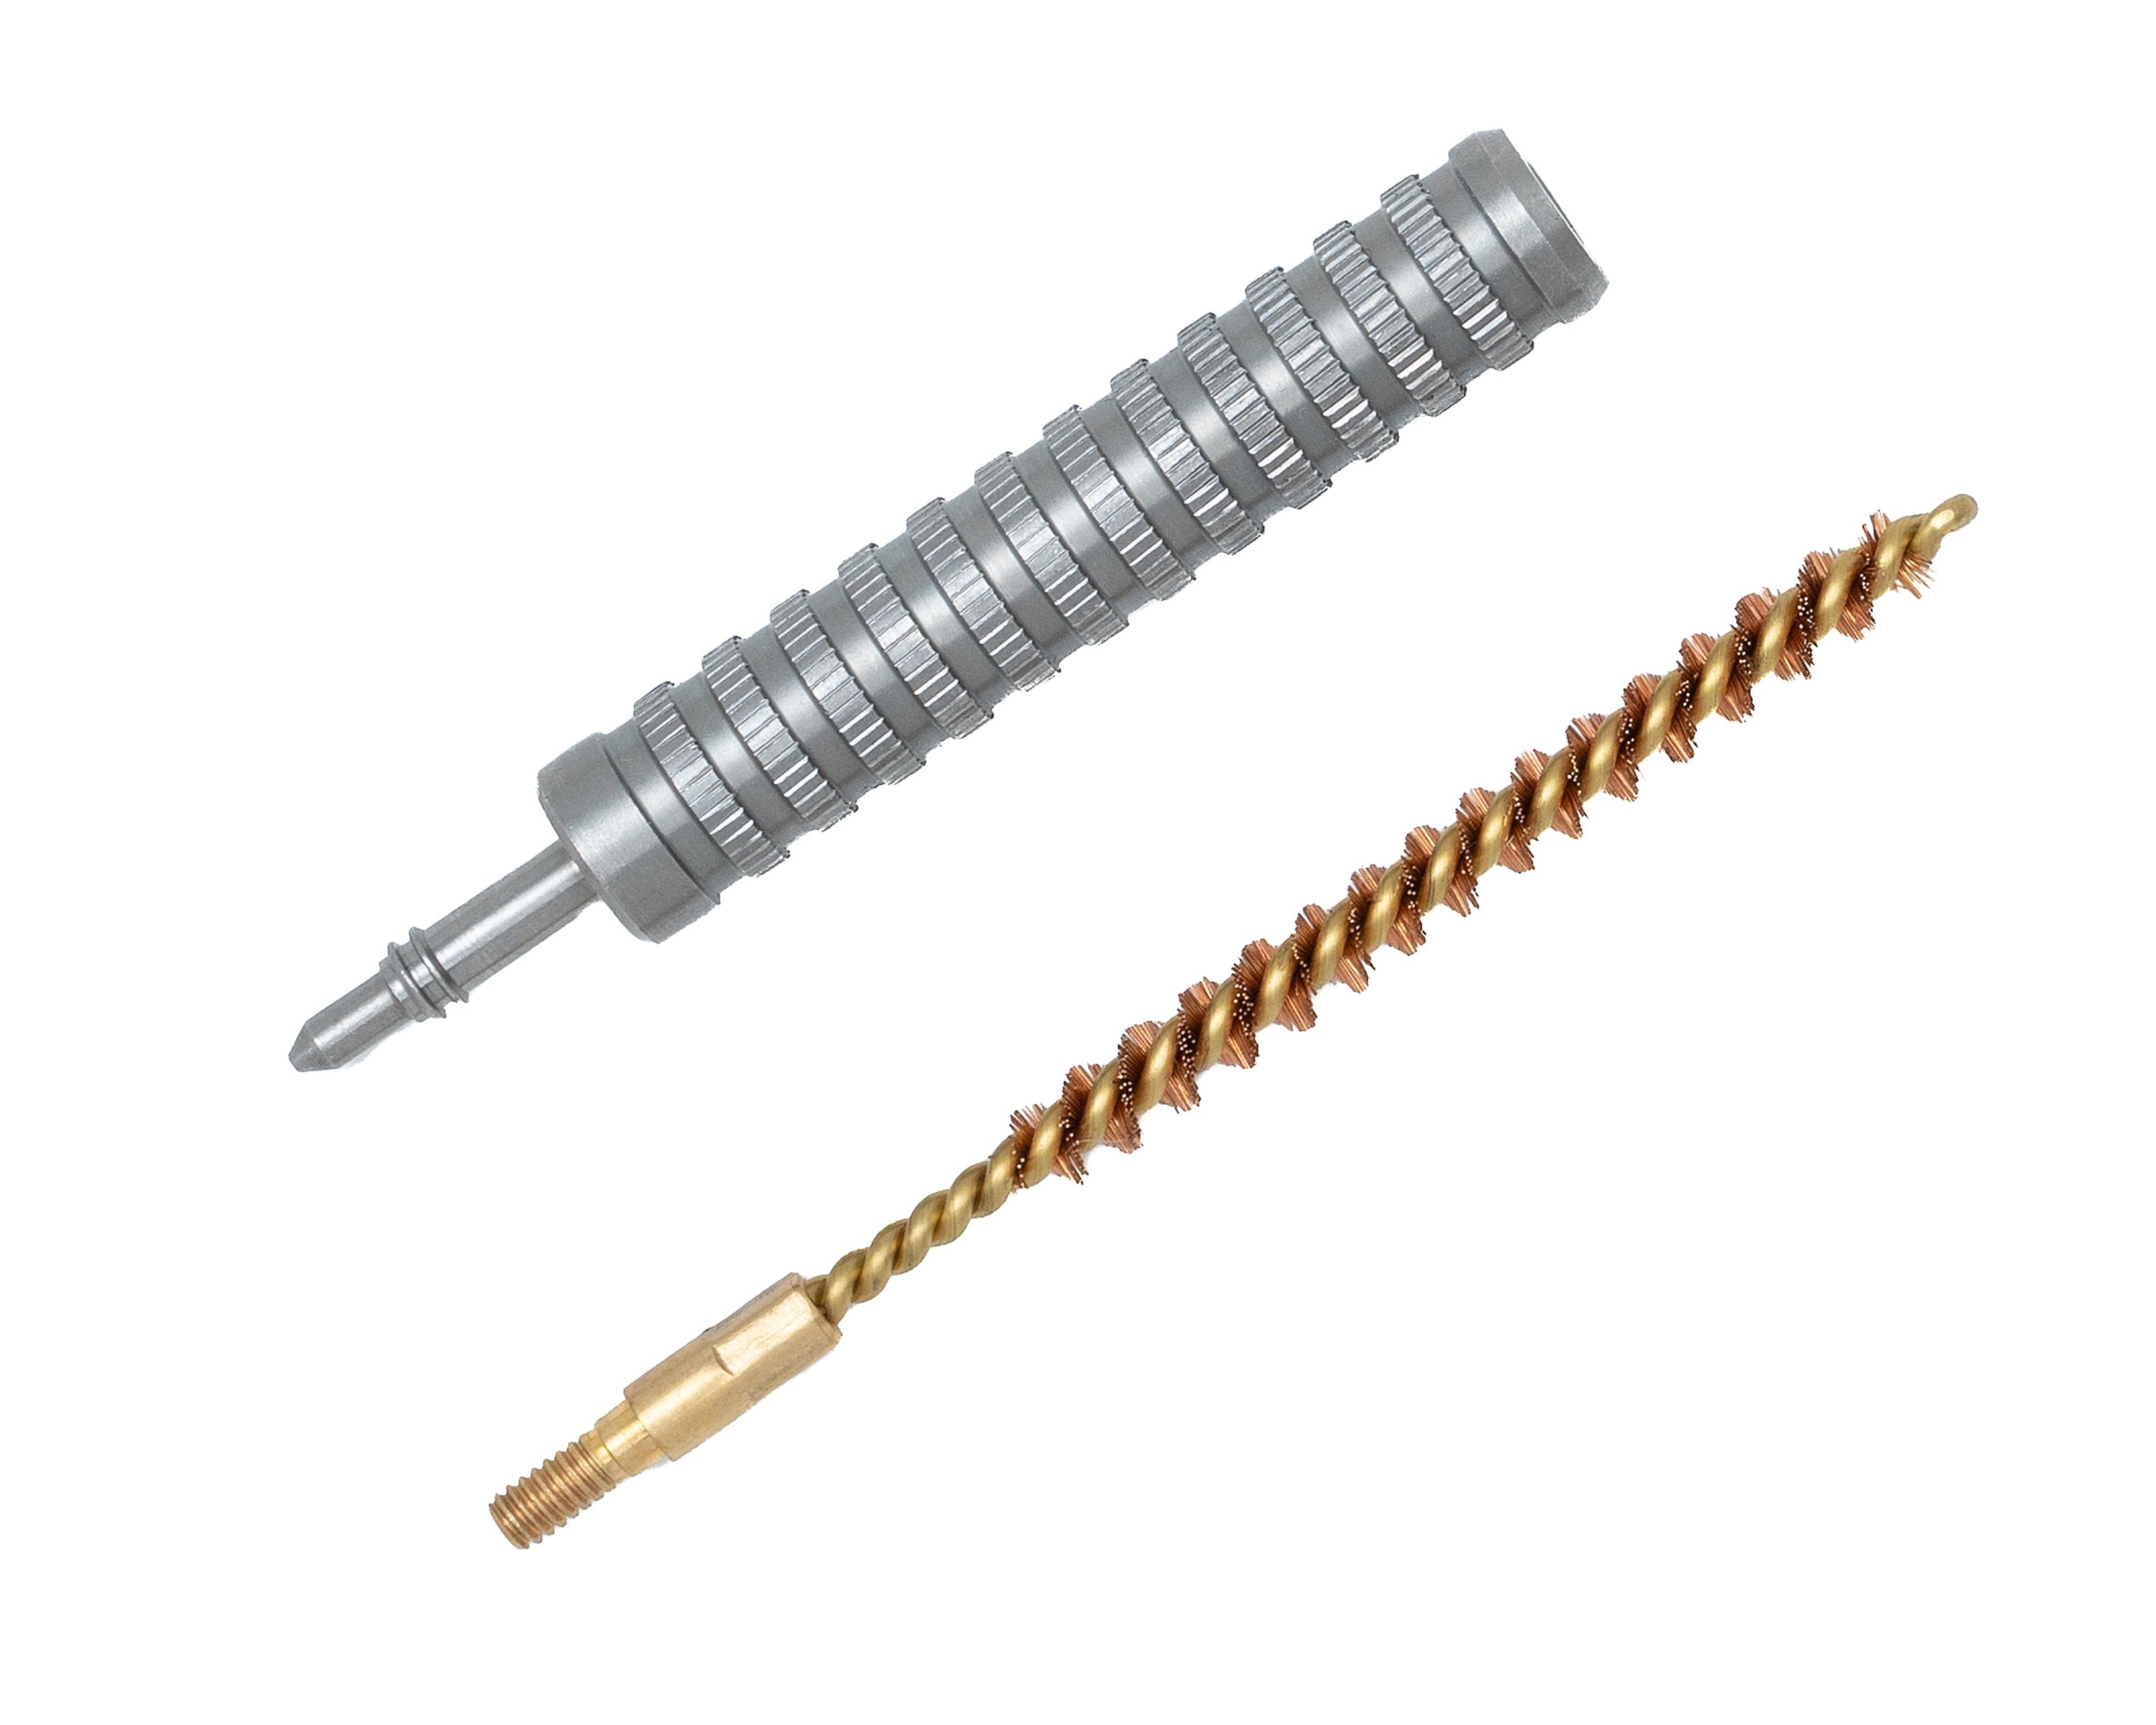
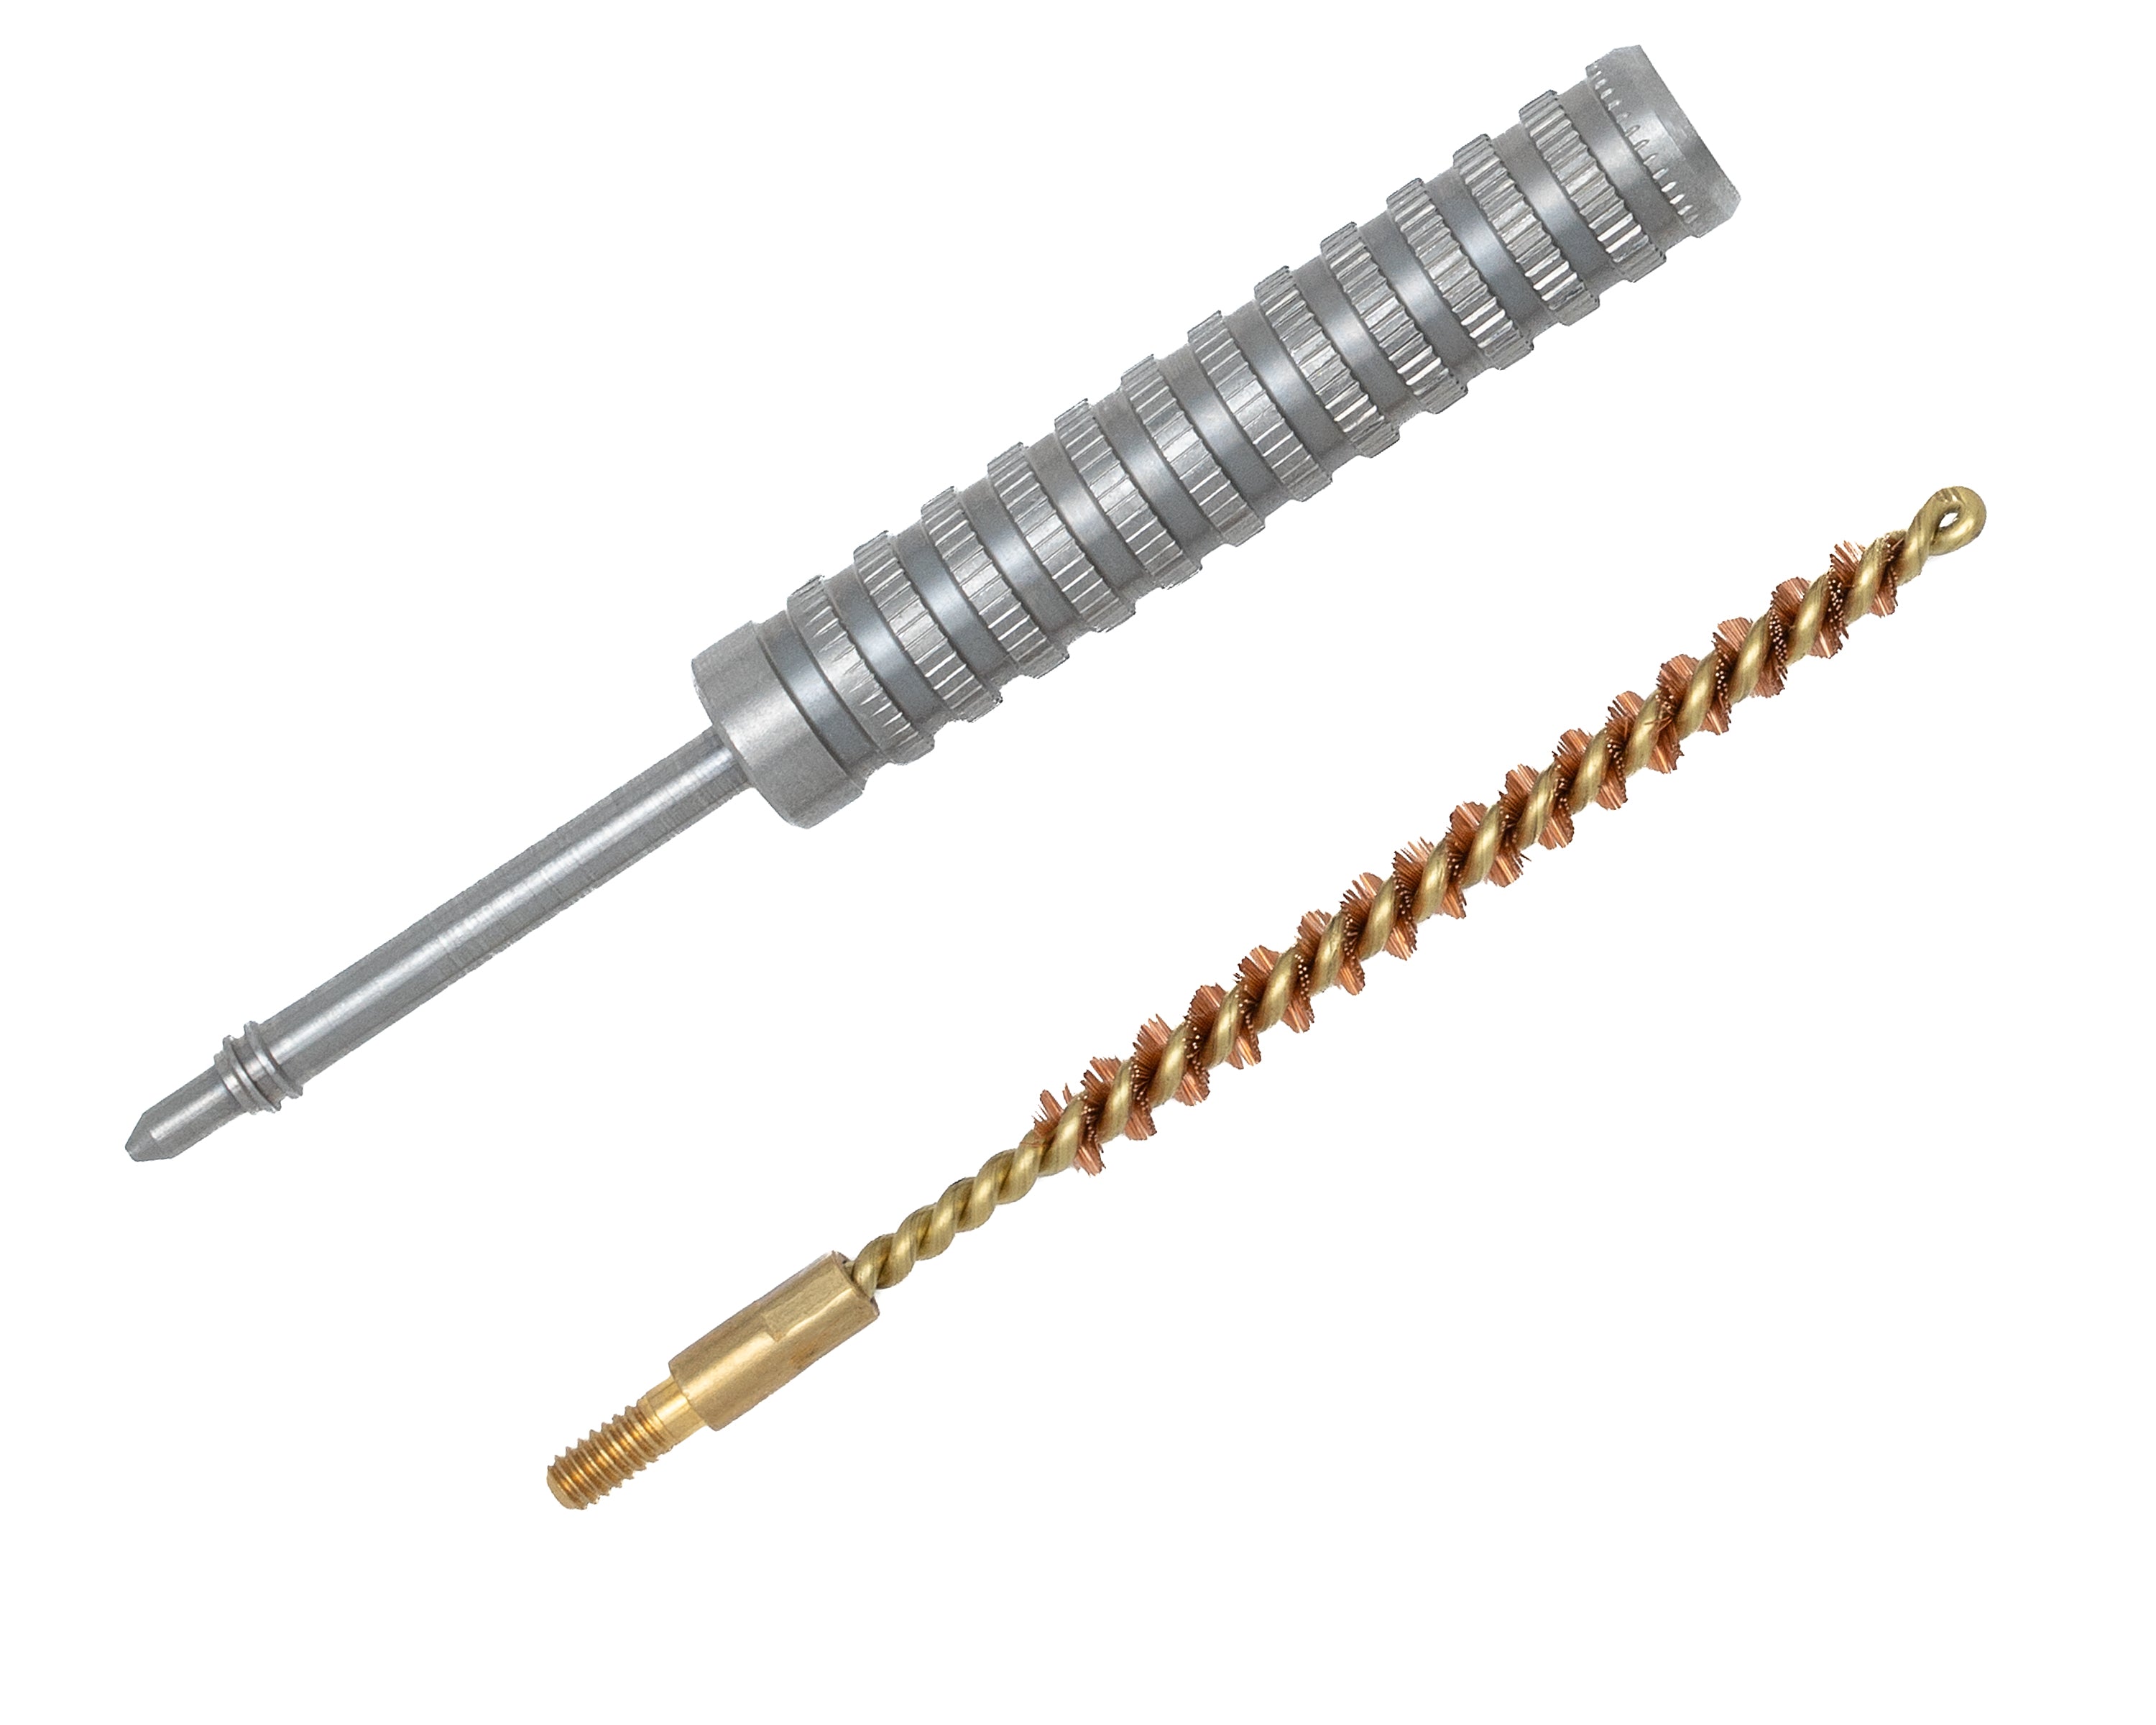
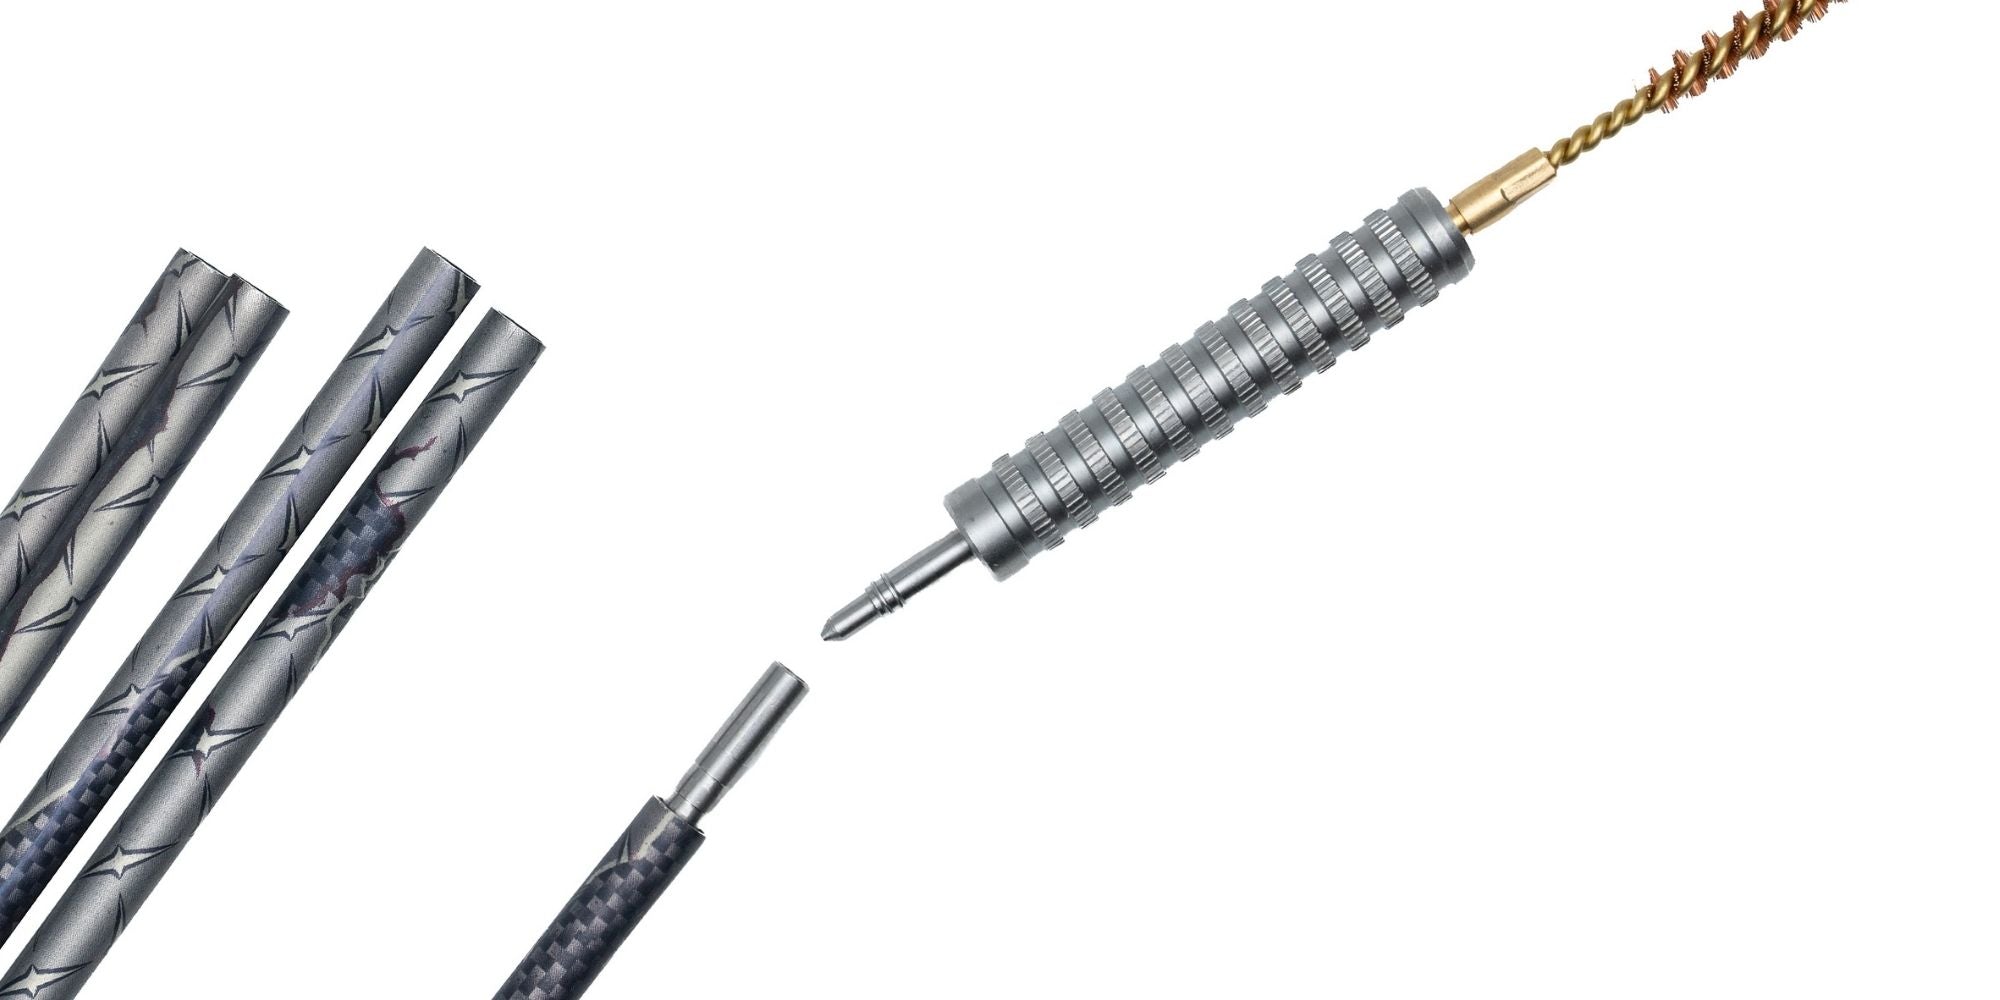
2) Use an Iron Will HIT Insert Tool's brass bore brush attachment to rough up the inner diameter of the arrow, creating more surface area for the glue to adhere to.
3) Dip a q-tip into isopropyl alcohol, and then swab the inside of the arrow shaft as far as it can reach to remove carbon dust, or anything that could prevent the insert from forming a complete bond with the arrow's inner diameter. Then, use a clean q-tip to completely dry the shaft.
4) Once dry, use an Iron Will brush to precisely place epoxy where needed, all the way around the HIT Insert and covering the back 2/3rds of the insert.
5) Using an Iron Will HIT Insert Tool, slowly rotate the tool while pushing the HIT Insert as far into the arrow shaft as the tool allows. This places the HIT at the precise depth that your points need to be seated.
6) Slowly pull the tool back out of the arrow shaft, again while slowly rotating it. The tool is designed to scrape any excess epoxy from the space between the Insert and the arrow shaft during this time.
7) Store arrows in a horizontal position for at least 24 hours to ensure the Insert doesn't slide forward or backward while drying.
NOTE: Wait at least 24 hours between installing HIT Inserts and Impact Collars to ensure each can dry in the correct position.
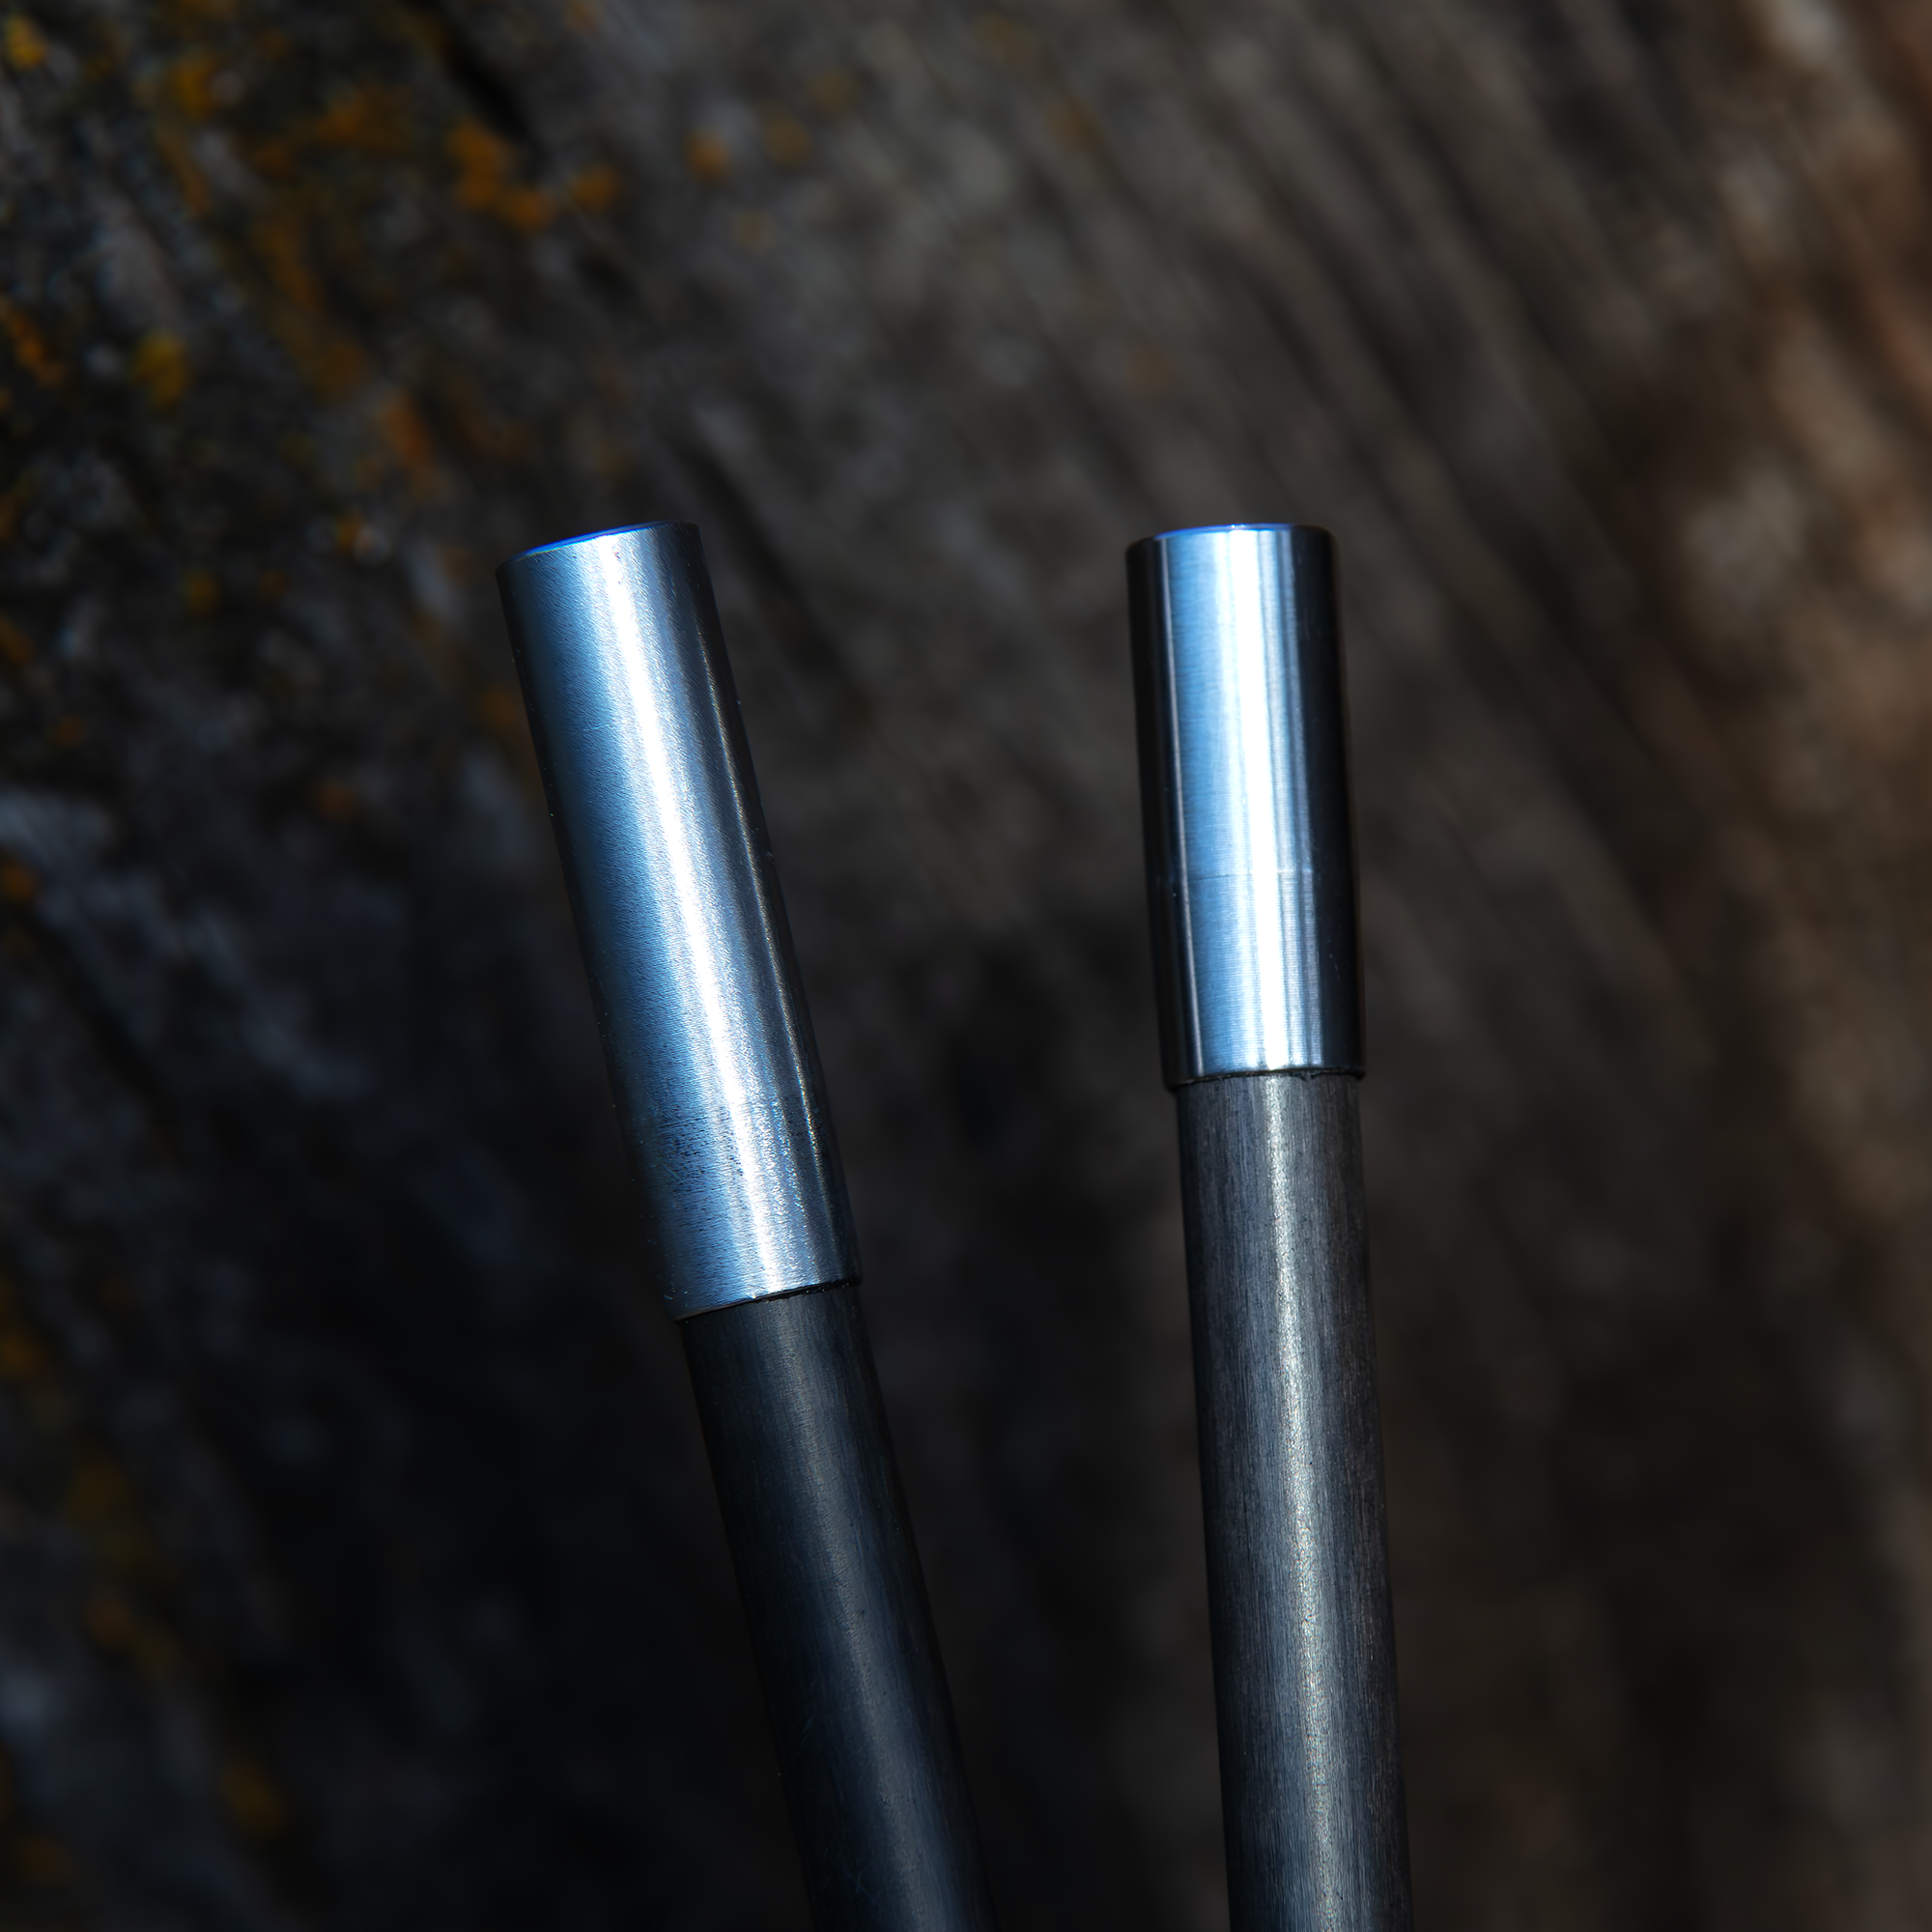
1) Dip a q-tip into isopropyl alcohol, and use it to clean the outer diameter of the arrow shaft that the impact collar will cover. Be sure to remove any oils, carbon dust, etc. that could prevent epoxy from adhering to the arrow. Then use a clean q-tip to completely dry the surface.
2) Use an Iron Will brush to precisely and uniformly place epoxy where needed, all the way around the end of the arrow shaft where the Impact Collar will be installed. Only apply glue to 2/3 of the area taken up by the Impact Collar, as the epoxy will be pushed further up the shaft when sliding the collar onto the shaft.
3) Slide Impact Collar onto arrow, and quickly remove any excess epoxy that squeezes out the top with a disposable towel.
4) Store arrows in a vertical position, nock up, for at least 24 hours while the epoxy is drying. Storing horizontally to dry could push the collar to one side or the other, which could skew your arrow's concentricity.
NOTE: Wait at least 24 hours between installing HIT Inserts and Impact Collars to ensure each can dry in the correct position.


