How to Disassemble and Reassemble an Iron Will Broadhead
Watch the Broadhead Disassembly/Reassembly Video
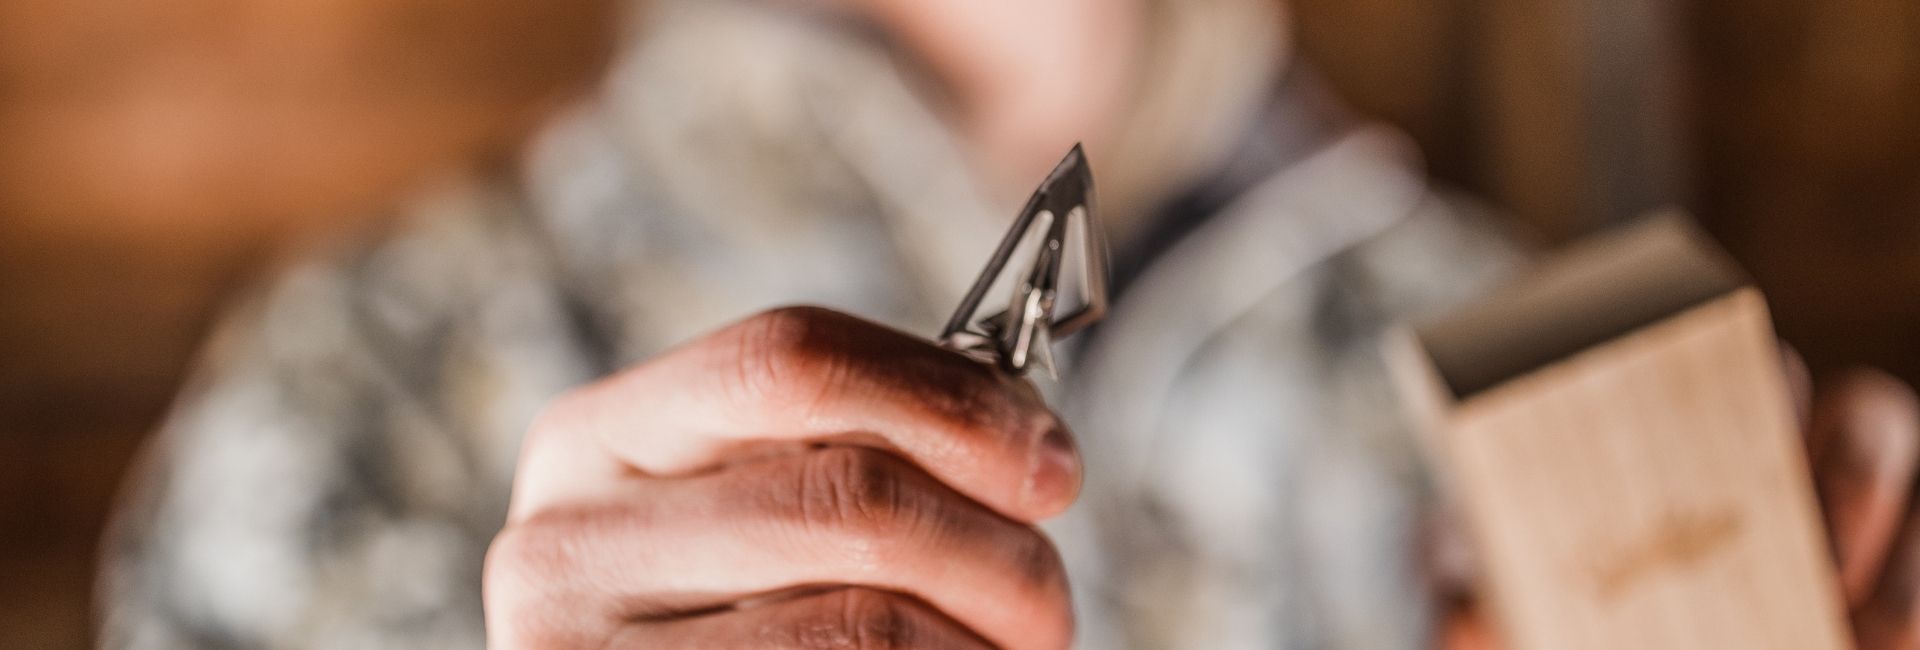
To Disassemble an Iron Will Broadhead
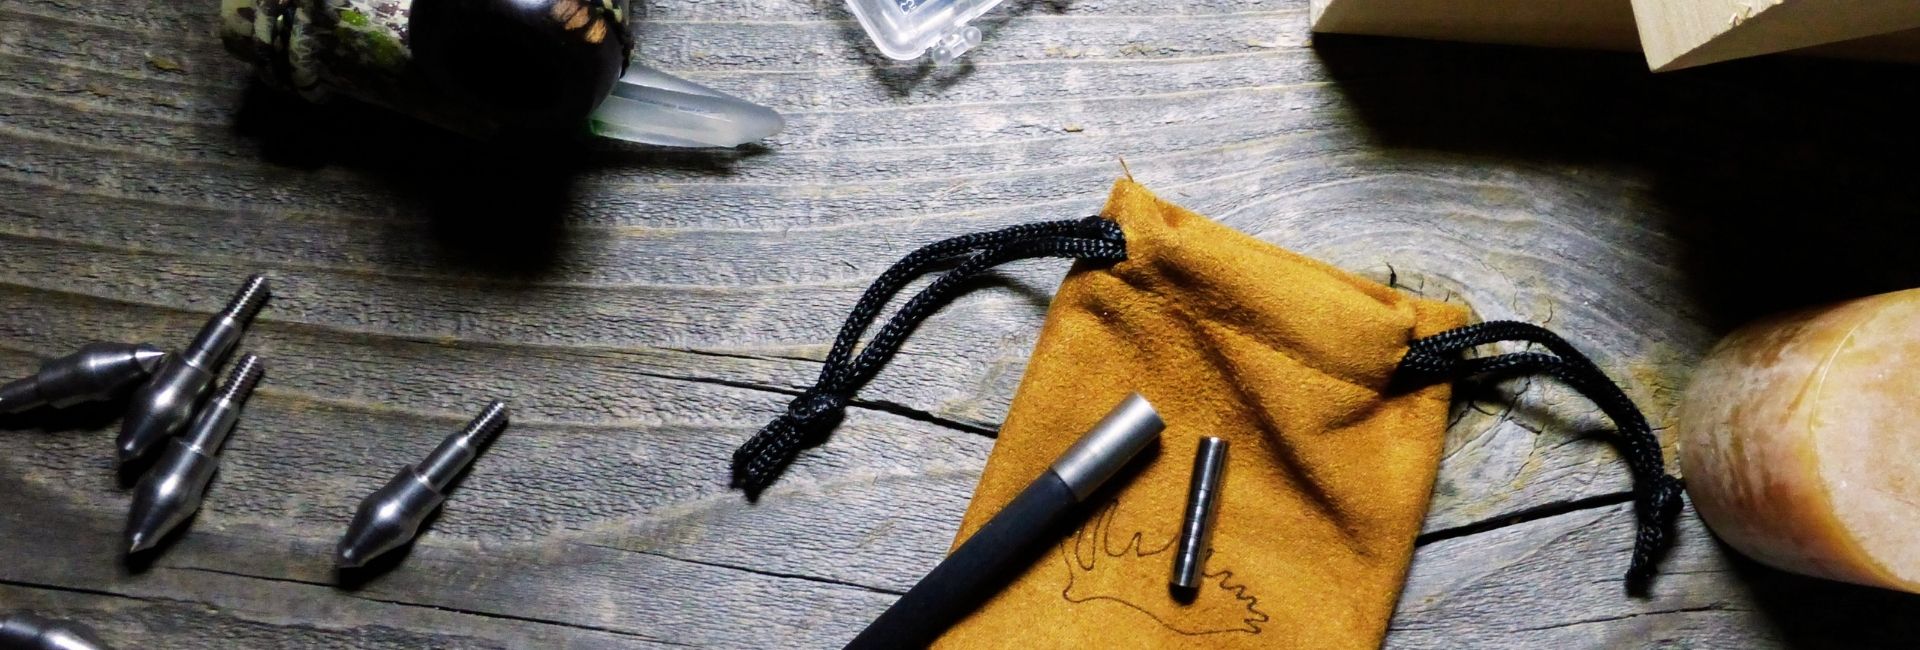
1.) Remove the screw with a T6 Torx screw driver. Be sure the Torx is in good condition and of high quality before beginning. With the smaller screw head size and a tight fit, Torx drivers that aren't made of a higher quality steel have a tendency to strip themselves. Purchase a Torx Driver.2.) Slide the main blade straight upward and out of the ferrule. If the blade is sticking inside the ferrule, you can wrap plyers with black electrical tape and use those to gently loosen the blade. Do not use unprotected plyers on the broadheads as it will void the warranty if you damage them using plyers on them for any reason.
3.) With the main blade removed, slide the bleeder sideways out of the ferrule. You may use a small block of wood to help push the bleeder blade loose. We do NOT recommend using your fingers as the bleeder blades are extremely sharp.
4.) You may now clean your blades and ferrule.
To Reassemble an Iron Will Broadhead
1.) Slide the bleeder blade into the small slot on the ferrule until it is centered. The notch on the bleeder blade should be lined up with the long slot in the ferrule.2.) Slide the main blade downward into the slot until seated. The hole in the main blade should now line up with the screw hole through the ferrule.
3.) Insert the screw and partially tighten. There should be a little wiggle room in the main blade at this point.
4.) The main blade should be aligned so that there is 10/1000th of an inch on each side of the ferrule for vented blades. The blade should be centered on the ferrule.
5.) Tighten the screw.
6.) Perform a spin test to verify the main blade is correctly centered on the ferrule. Adjust as needed.